The process started with a visit from Progressive Insurance shortly after our homecoming. Their estimator made a house call, took one look at the rig and in awed tones commented, “That’s a nice paint job!” A few moments later, “And custom fiberglass work!” He knew of no production shops capable of that caliber of work in our region so worked with me at figuring out what had to be done. He examined everything, taking nothing at face value, and in the end I received a very fair settlement.
Because my friend’s shop was tied up in custom work I had to wait till mid-winter to begin assessing the extent of the damage and start work on the rebuild. I say rebuild because the damage to the fiberglass tub proved more extensive than first thought. This would be much more involved than a simple repair job!


At first glance the damage didn’t look so bad. But the side of the tub where the fender bolted up was spongy, an indication that more damage would be uncovered as the rig was disassembled.


I used a wire brush air tool to remove the cracked outer layers, sort of like a dentist using a drill to determine the extent of tooth decay. Sure enough, beneath the scuffed exterior were some significant cracks in the fiberglass.


Though it took the brunt of the impact I wasn’t overly concerned about the fender. It could be removed and repaired or modified easily, and had no structural value.


With the entire mount cut off I had a Holy crap I hope this works! moment. But I had never really liked the way the fender looked like a bolt-on afterthought. The gap between the tub and the fender was deep and narrow, difficult to clean, and detracted from the sleek lines of the tub. I decided not only to replace it, but to relocate it and refine the shape. One of the advantages of working with fiberglass is that mistakes can be removed and redone with relative ease. After weighing a few options, I settled on using foam as a base on which to build.


After applying masking tape to the tub-facing surface of the fender I spread a thin layer of grease before clamping it in place, then applied spray foam into the gap. I let it cure and harden overnight, then removed the fender and began shaping the foam into an arc that complemented the looks of the sidecar. Once I had the shape I wanted, verified by several test fittings of the fender, I applied another thin coating of grease to the foam and began laying fiberglass. Theoretically the grease would keep the resin from sticking to the foam. While that proved to be correct, the heat of the curing resin melted portions of the foam resulting in an uneven first layer of fiberglass.

Once the revised fiberglass mount was sufficiently strong to hold its shape, I used hoof trimmers to extract the foam from inside. There followed a couple weeks of sanding and shaping to get a perfectly flat mating surface and a lump-free arc.

When that was as good as I could get it, body filler was applied and the shape fine-tuned to perfection


With the mount taken as far as it could go, I switched to fixing the fender.


Though time consuming, the fender required no redesign so was a relatively easy fix


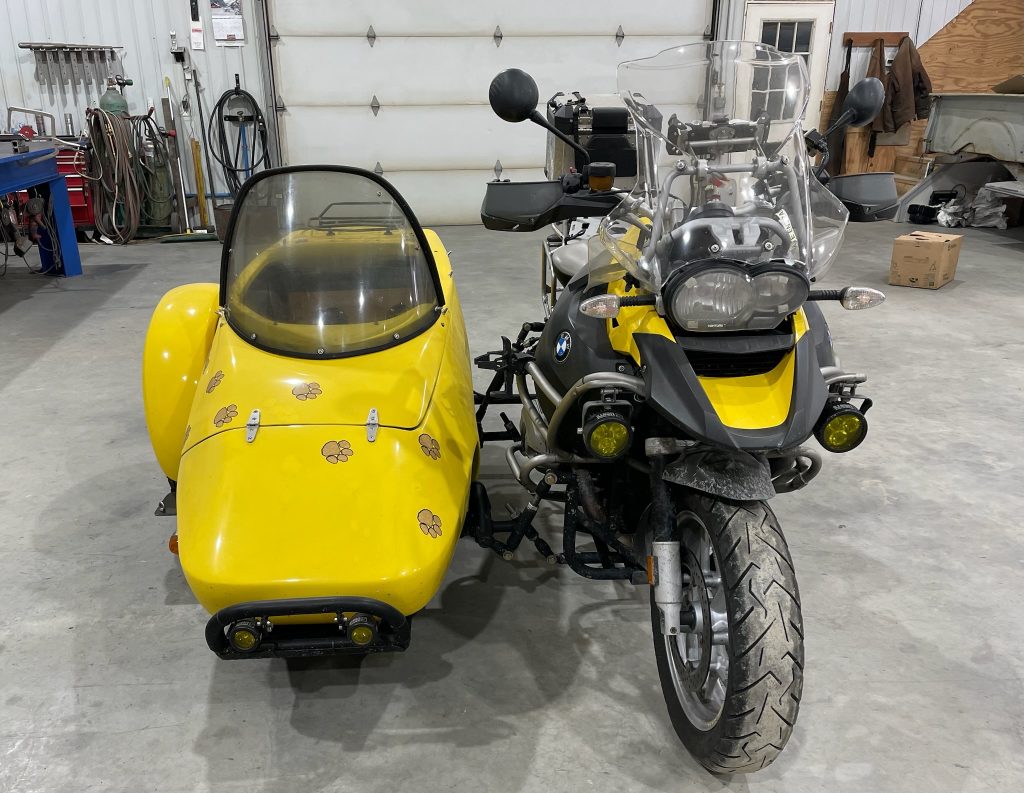
And finally we were ready for the finish coat!
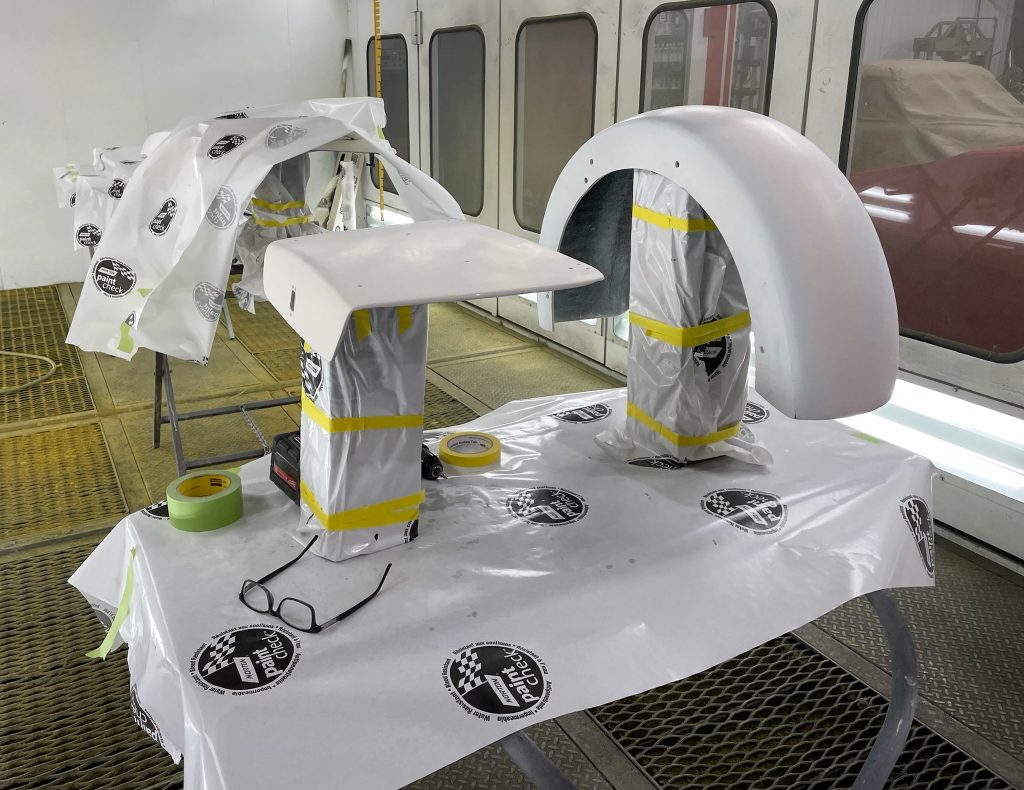


Four coats of Mustang Yellow, followed by four of clearcoat. Then everything was wet sanded, polished, and sealed. It was when I started reassembly that I discovered why my toe-in was off.


Unfortunately the paint was not fully cured in time for us to ride across the country to the BMW rally in Oregon. Not wanted to risk damage to the fresh paint, I decided to take our four wheel drive Nissan Xterra instead. That decision would also let us visit some truly remote backcountry gems along the way. They say overcoming adversity is part of adventure. We would experience an overdose of adversity on our trip to Oregon!
BACK TO DOSWELL VA
ON TO REDMOND, OREGON