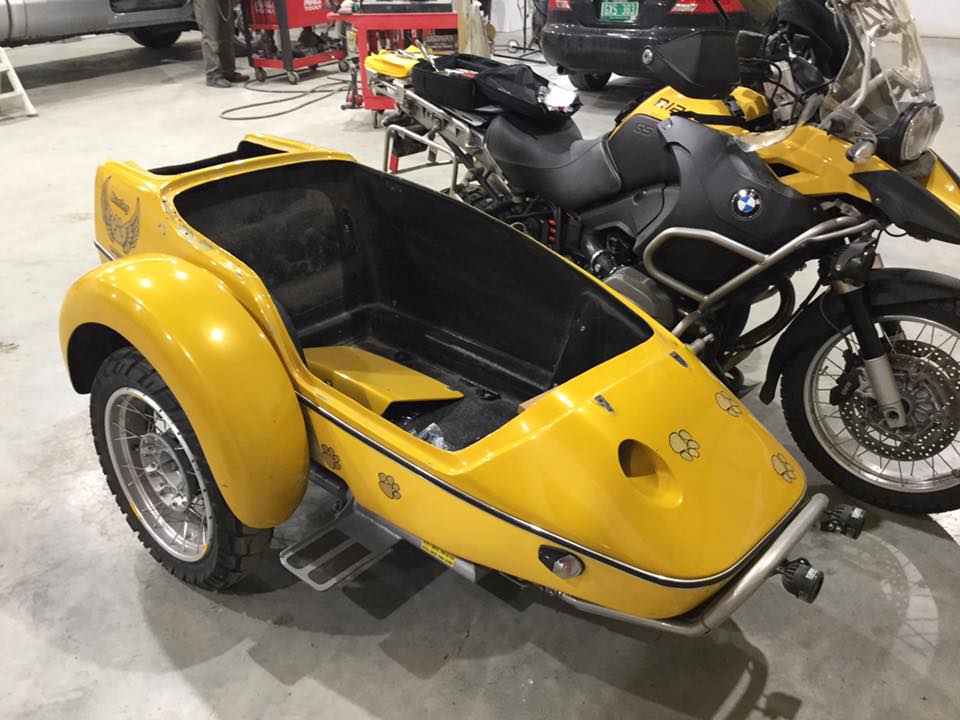
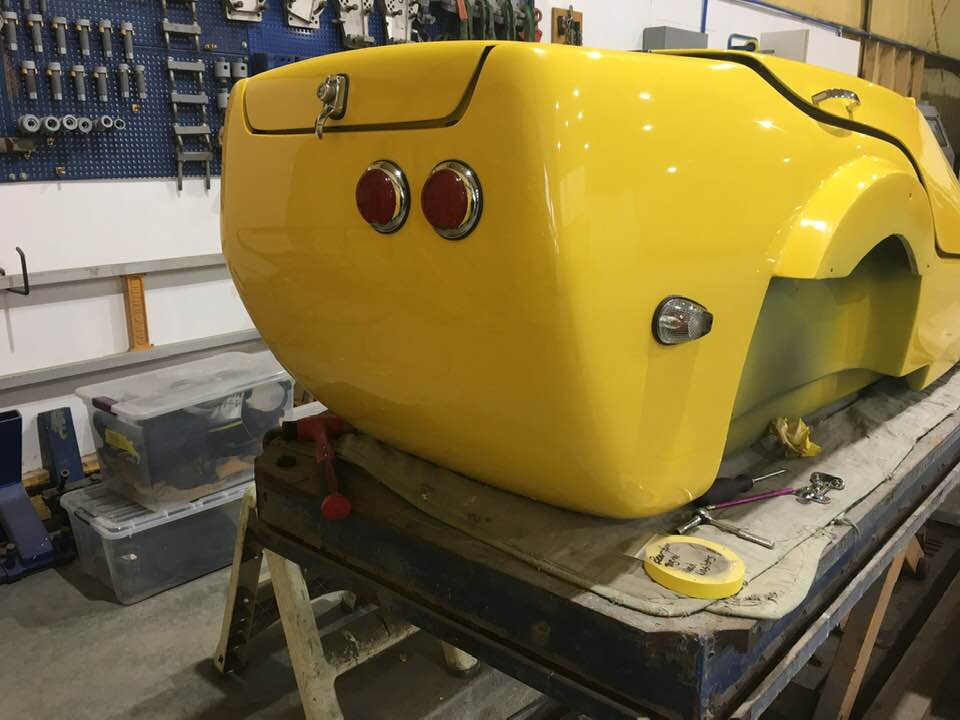
With mixed feelings, in the winter of 2018/2019 I started stripping down the sidecar for a major overhaul. The tail/brake light on the fender will be removed and the opening glassed over, to be replaced with something more visible mounted on the trunk. The recessed headlight will be removed and glassed over. Air flow through the vent will be improved somehow. The rig will get a new paint job. The sidecar will be moved from the 2010 GSA to a 2012 GSA with fewer miles and non-adjustable suspension. Lastly, the spoked wheels will be replaced with more easily cleaned cast rims, and the tub lowered for better control on twisty mountain roads.
I’ve never done anything like this before, but with the guidance of a friend who is a retired autobody repair expert, well, if it goes horribly awry I’ll write him a big check and ask him to put it back together!
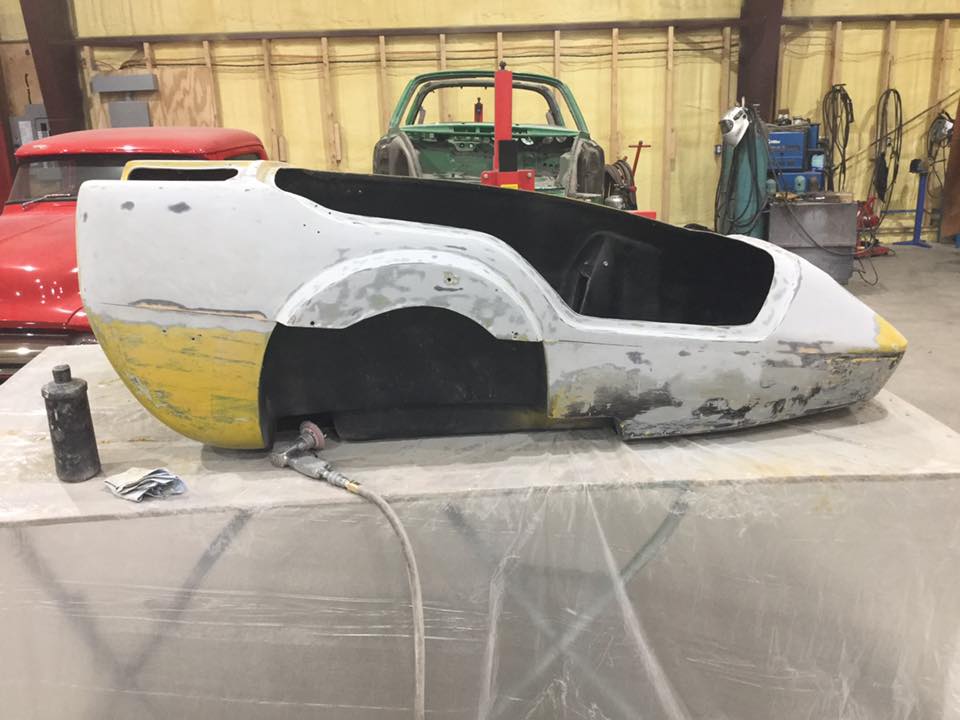
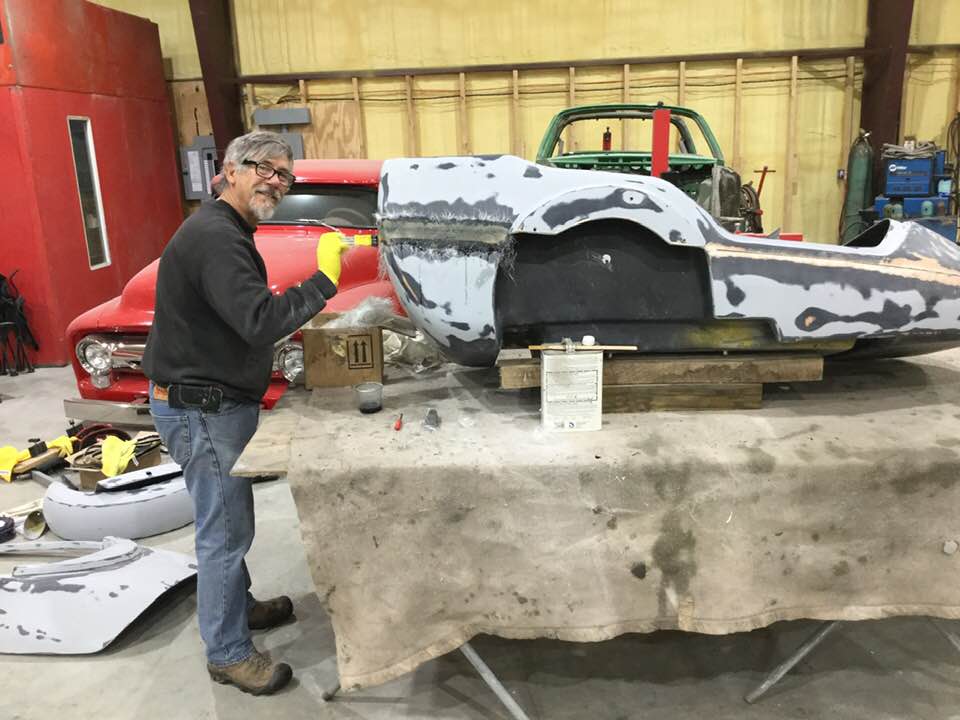
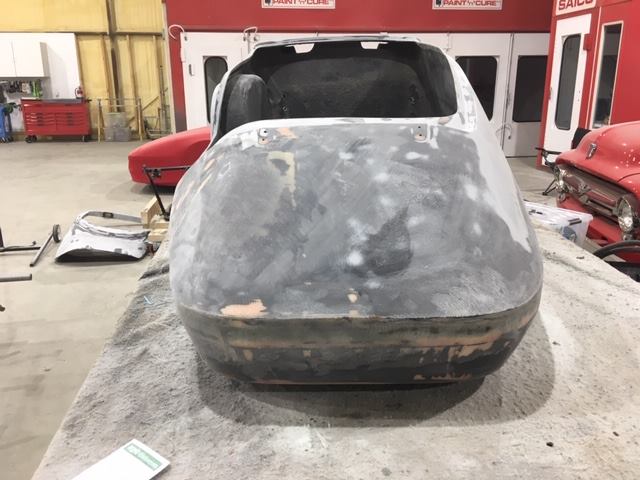
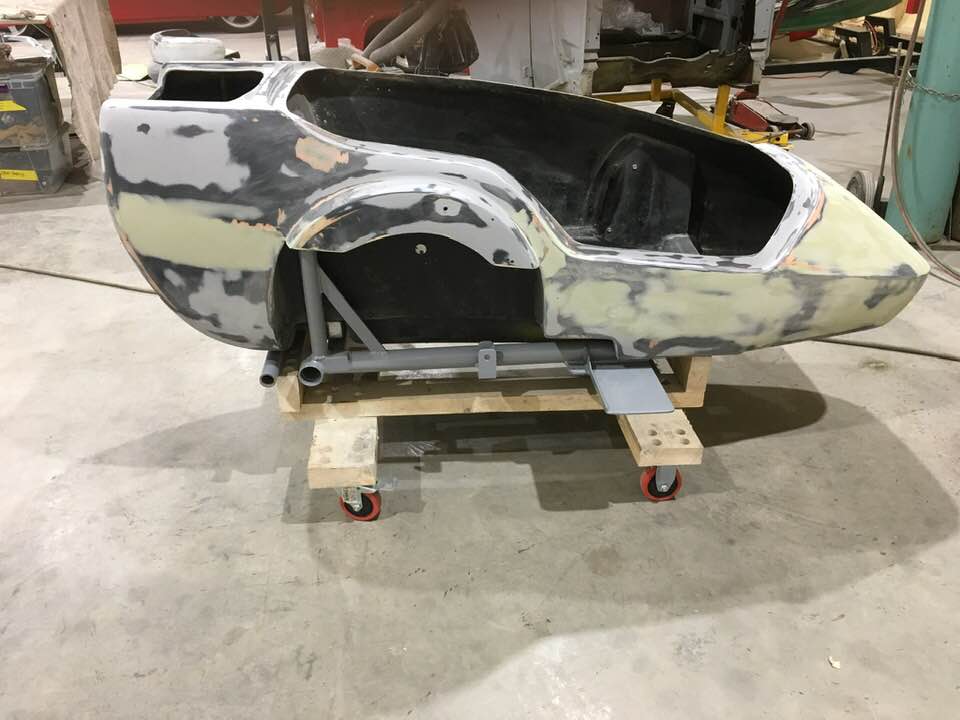
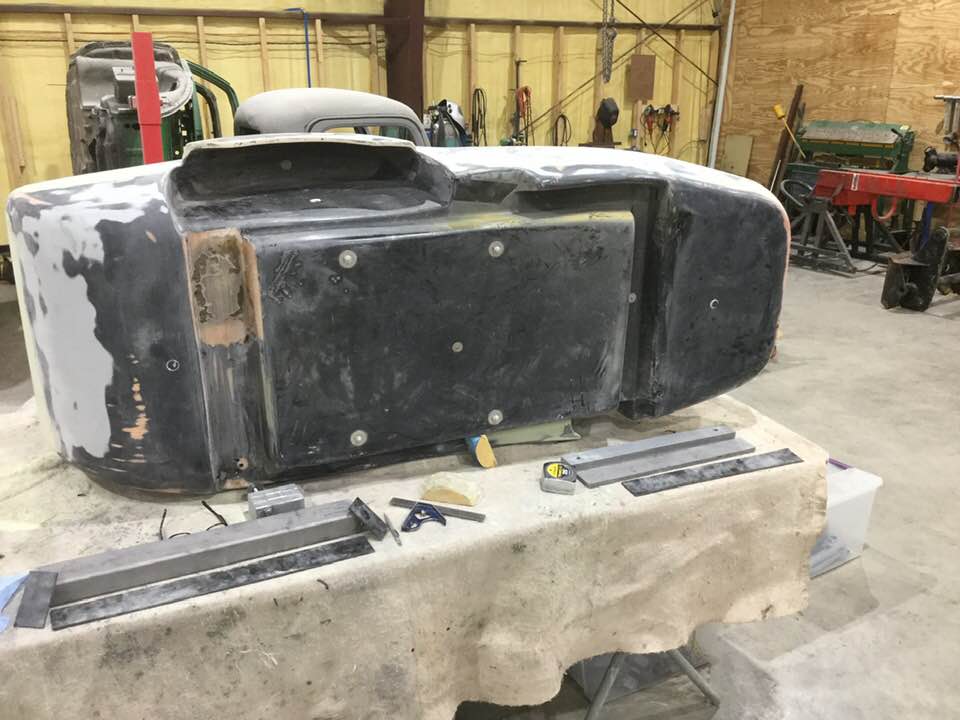
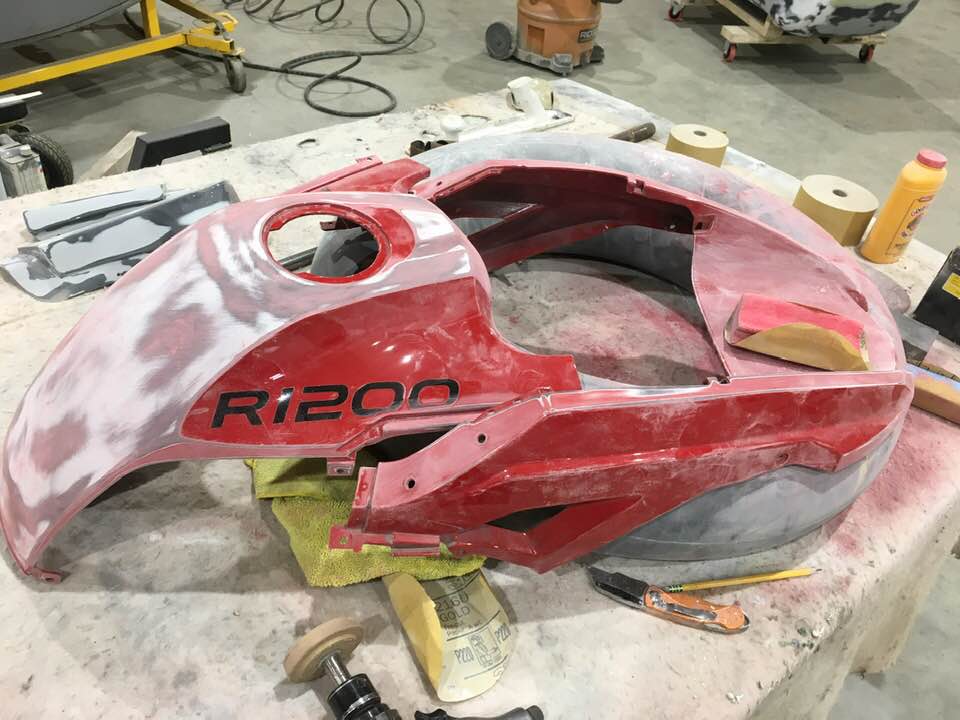
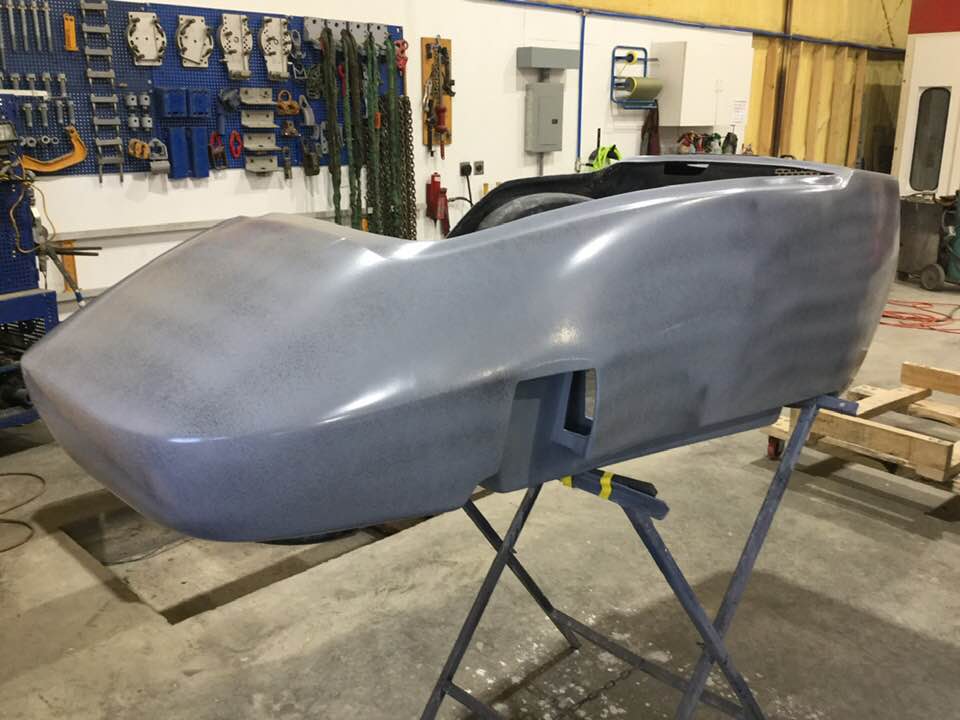
All the parts that could be removed were set aside, then the beautiful (albeit badly pitted) paint was stripped off. I had several OMG what have I done! moments in the process.
My friend and mentor, who had specialized in the repair of Corvettes for thirty years, had a trained eye for flaws and would accept no shortcuts. Not content to have me fill gaps and holes with Bondo, he had me grind each one then fill it with fiberglass. When I thought I had each one ground down sufficiently he had me do the same thing with the low spots on the body. At that point I started calling him Miyagi-san.
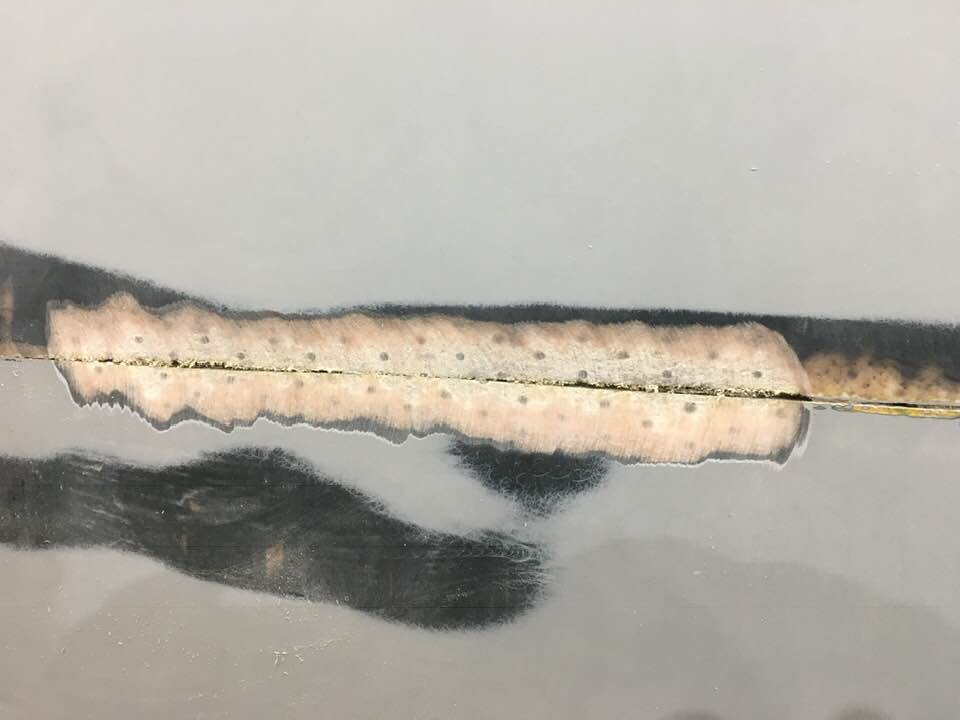
Fiberglassing is a skill gained through experience. And what an experience it was! Miyagi-san showed me how to work the resin and fibers into the defects, how to compensate for temperature fluctuations (though the shop was heated the outside temp was hovering around zero), and how to avoid getting my fingers stuck to the work.
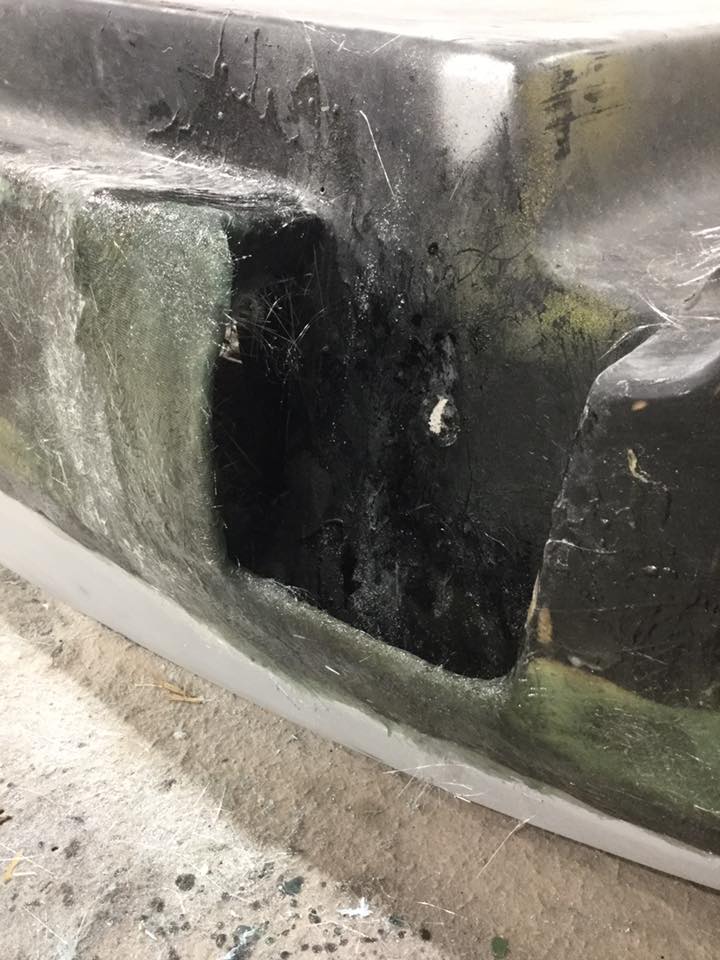
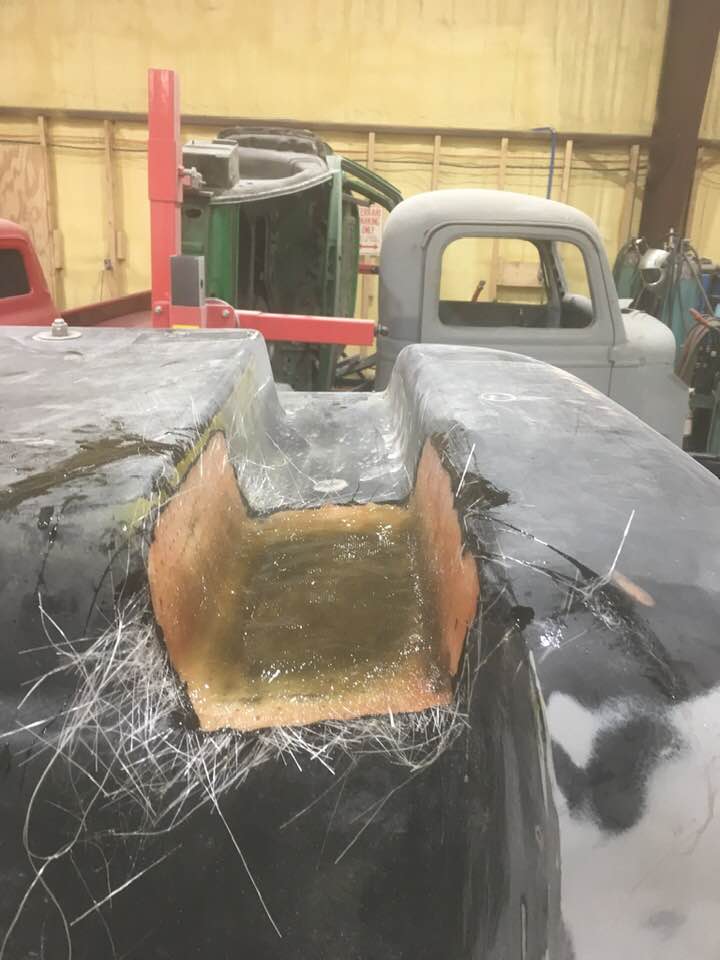
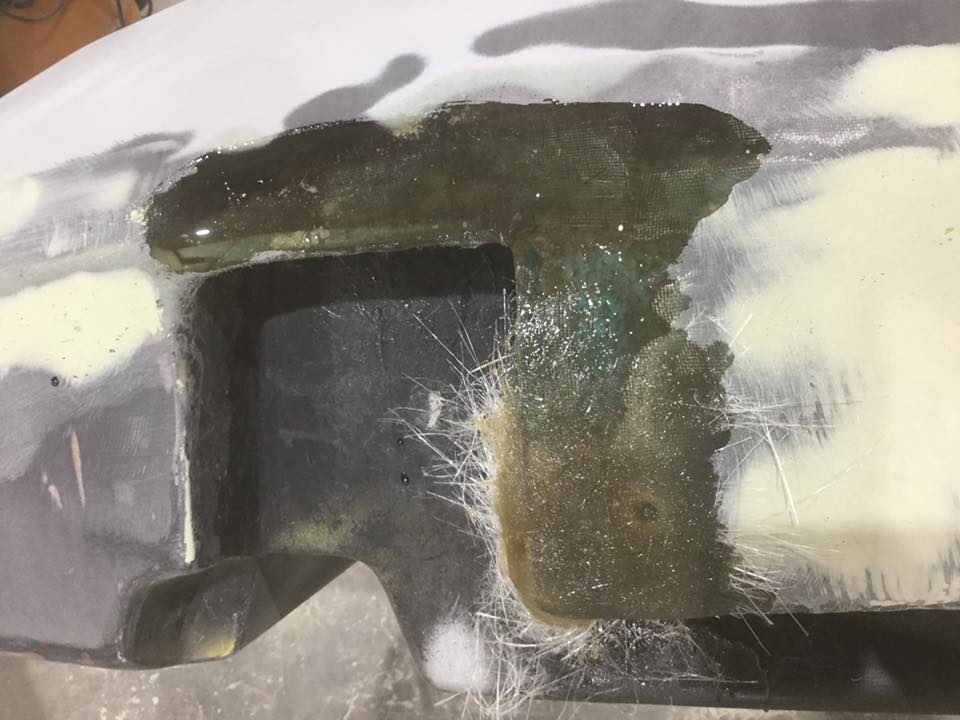
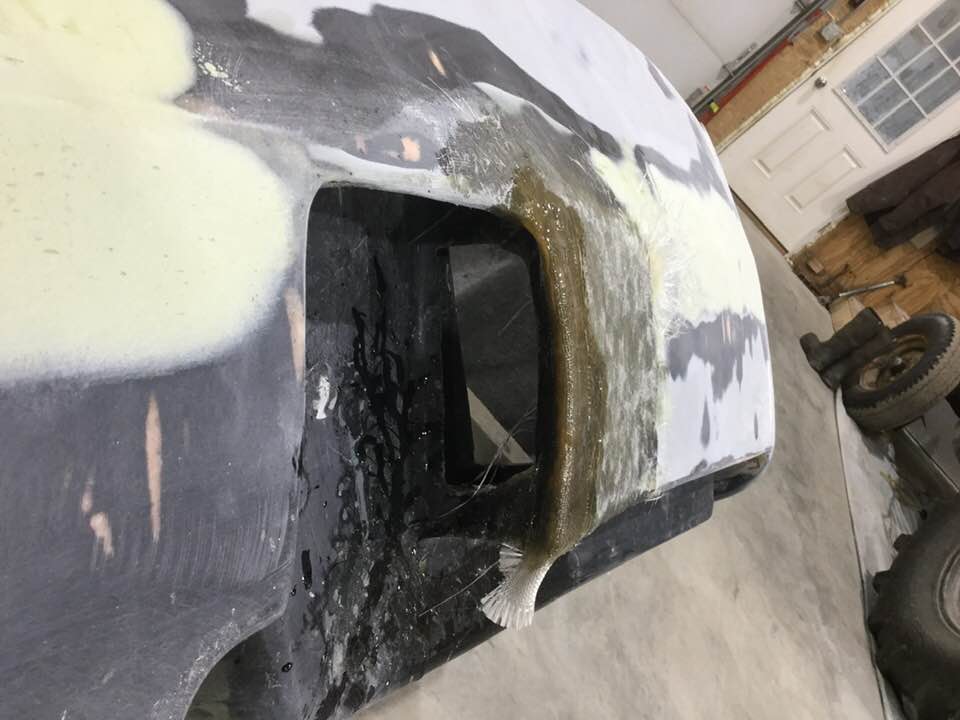
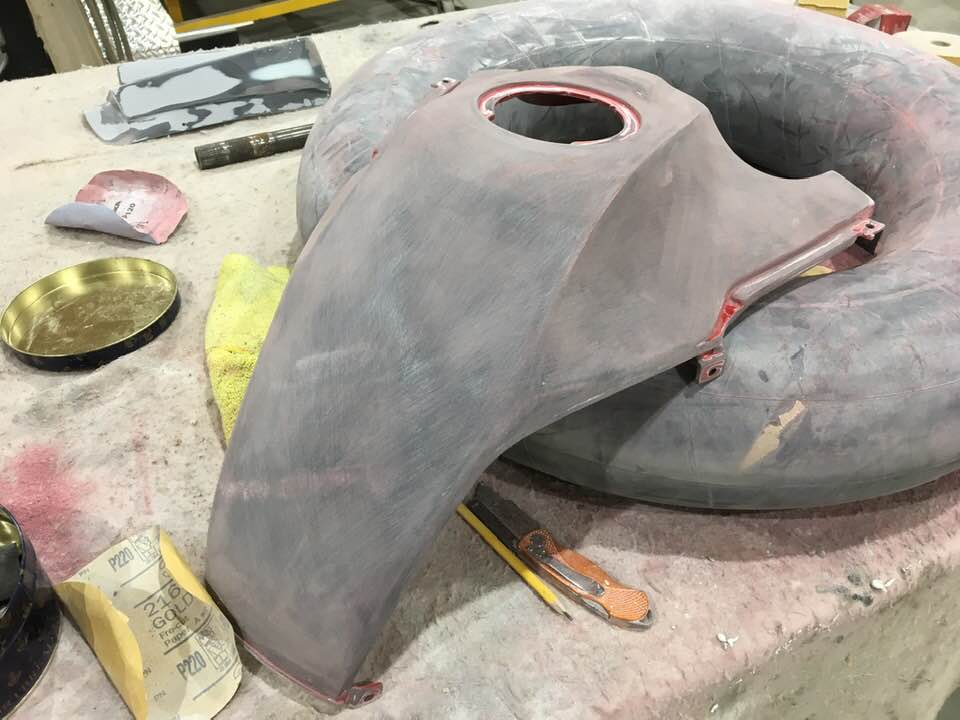
Between layers I’d scuff the joint with sandpaper to identify low spots. Those would then be filled with yet more layers. Once the seam was gone, I turned my attention to the recessed headlight. That light had burned out with annoying regularity, and the fiberglass around the recess was starting to crack. Since I had already decided to replace the OEM halogen light with a pair of high-powered LEDs mounted on a lightbar, that recess had to go.
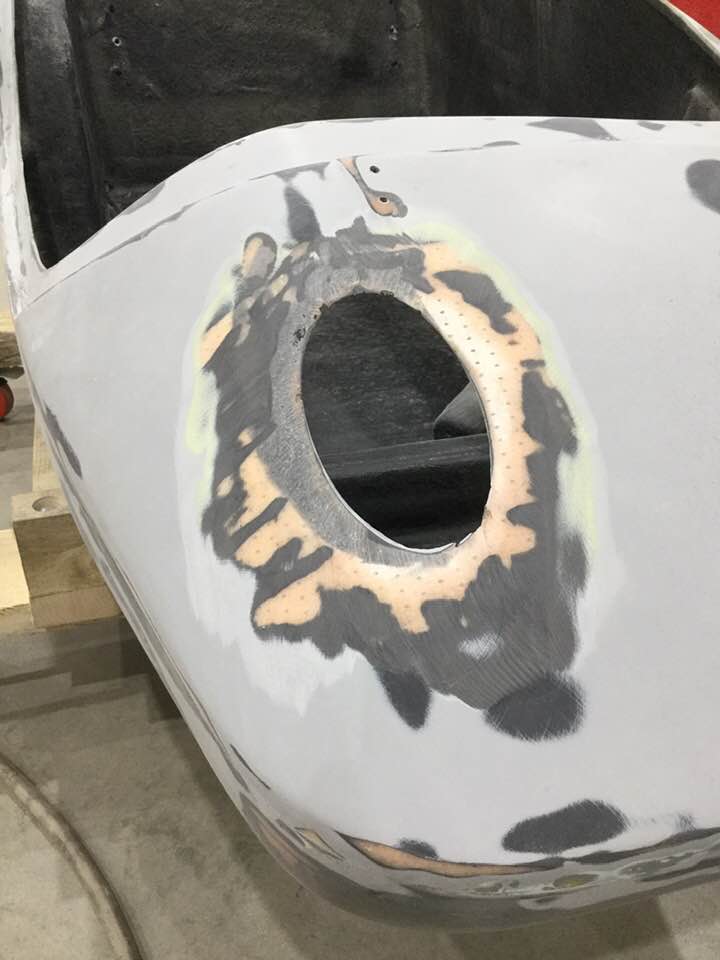
I stared at the hole, appalled at its size and wondering how in the world I could make that right. Miyagi-san handed me some cardboard, foil, grease and duct tape. He had me cover the cardboard with aluminum foil, grease the foil so my fiberglass repair wouldn’t stick to it, then tape it inside the hole as a backing plate. Now you have something to work with, he told me.
Miracle!
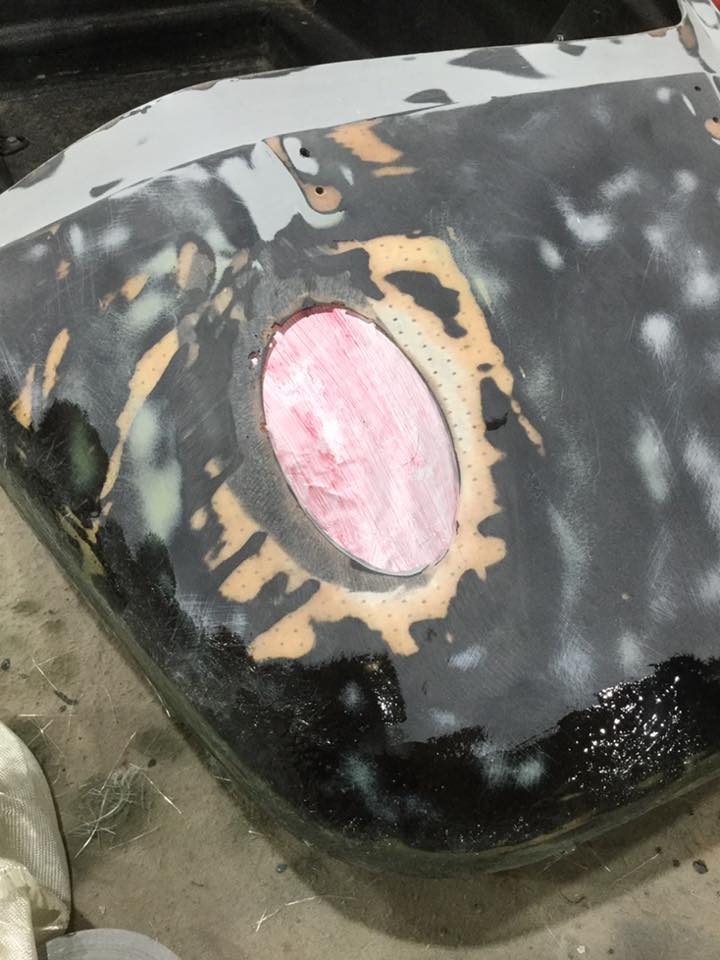
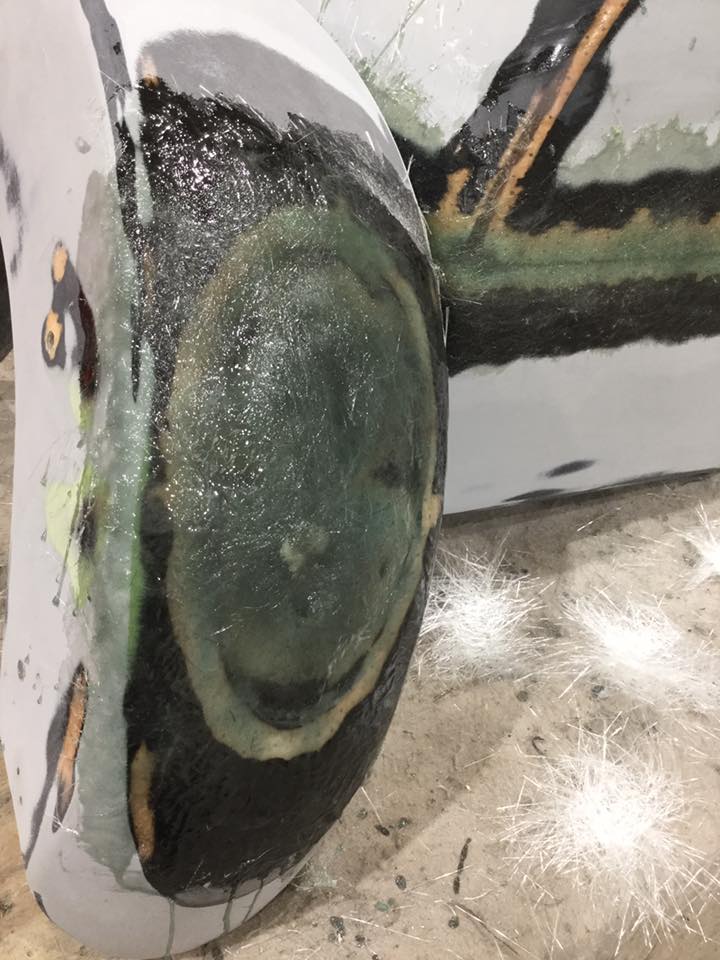
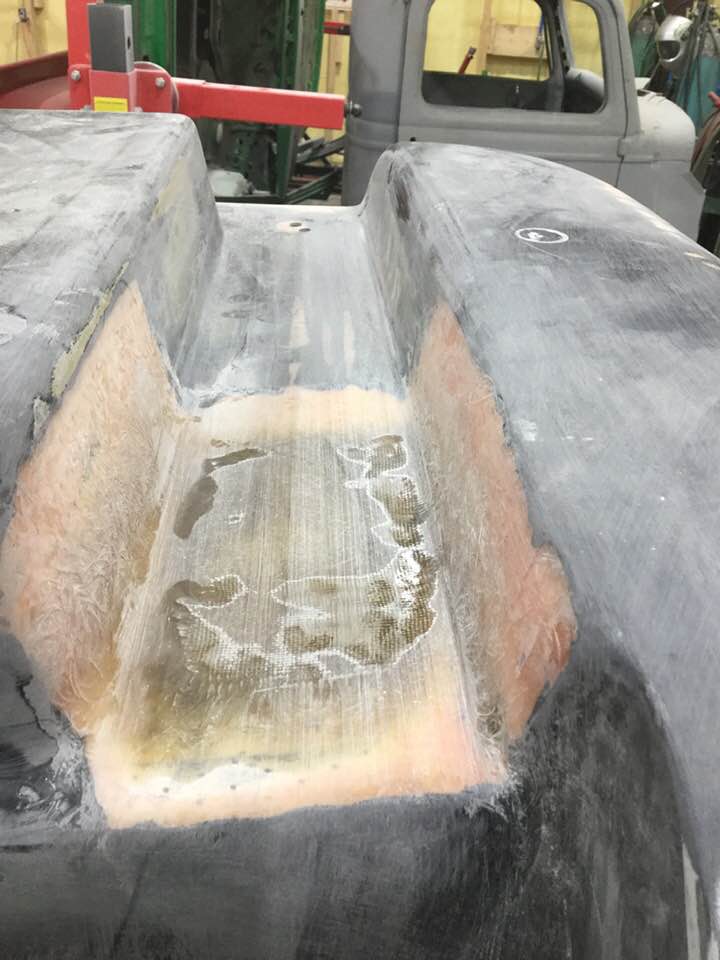
It worked! Sort of. The recess had opened on a curve in the nose of the tub, so building it up to match that curve required layer after layer of fiberglass. I was soon to discover the joy of endless sanding.
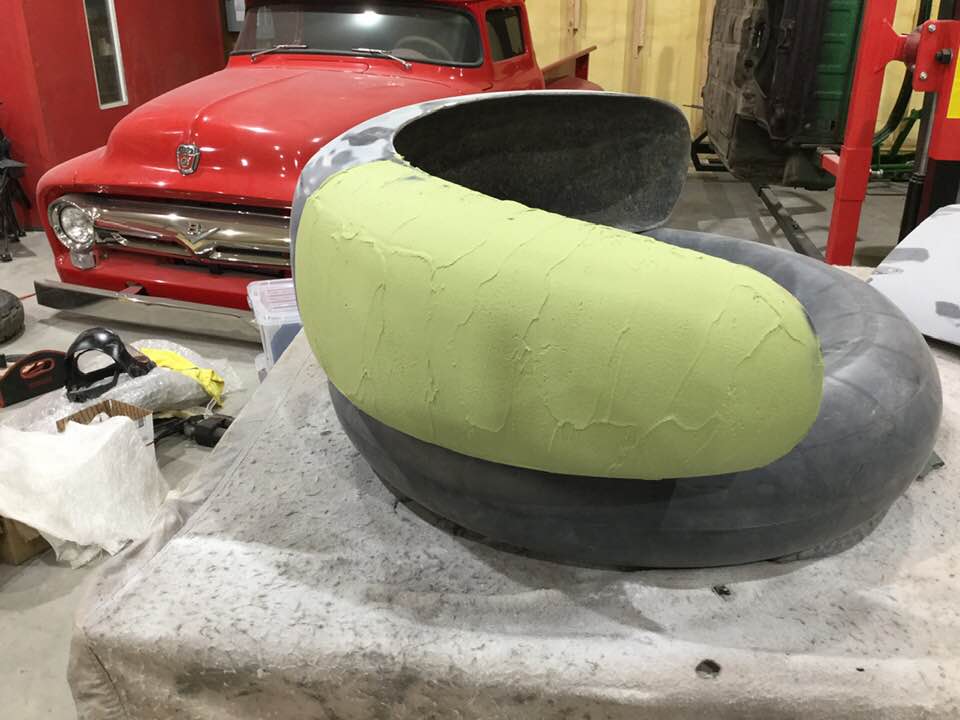
Once there was enough glass to work with, I mentioned my desire to add a scoop to the air intake. With a Hold my tea look (he doesn’t drink alcohol), Miyagi-san used a chunk of styrofoam to fashion the shape I wanted.

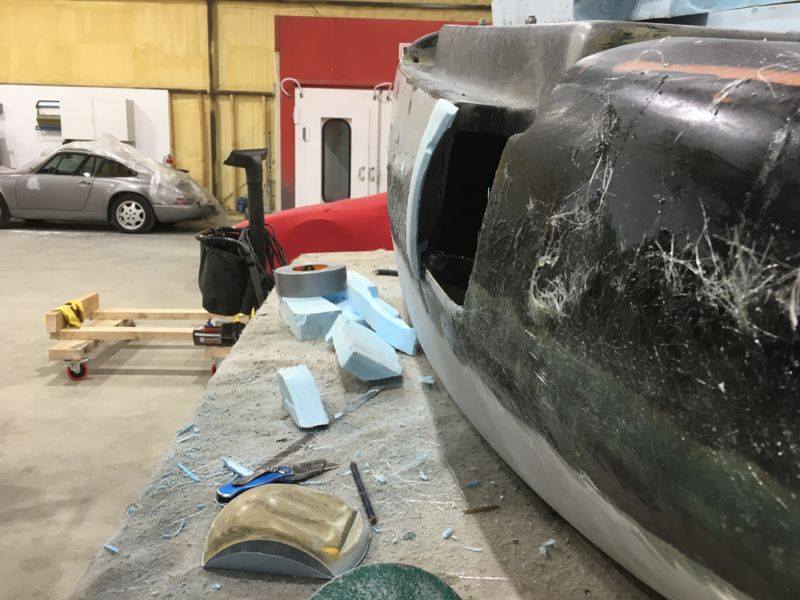
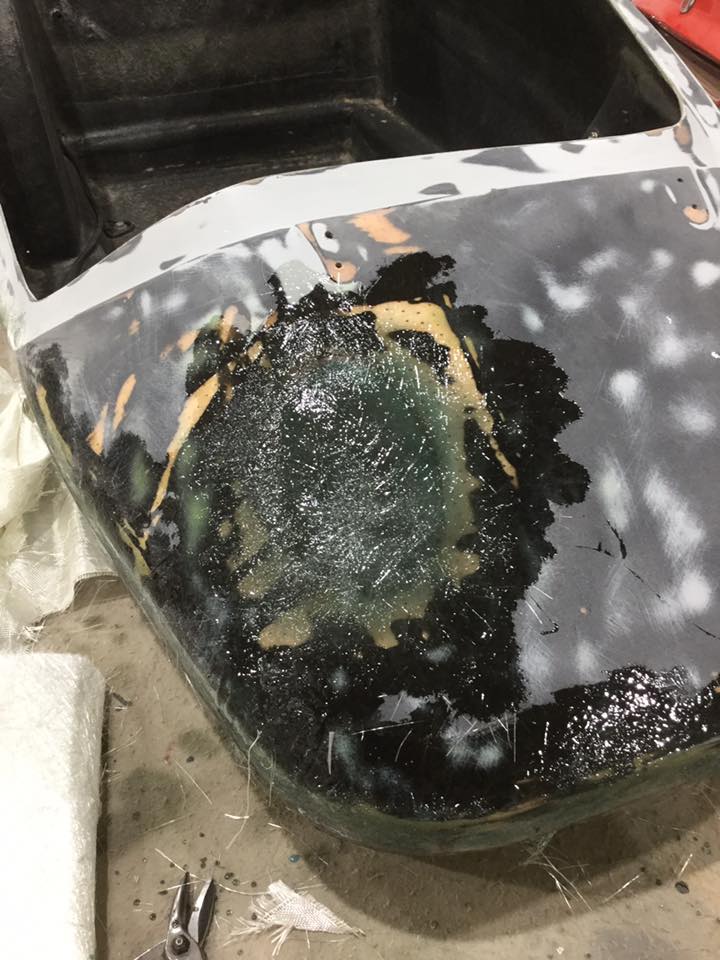
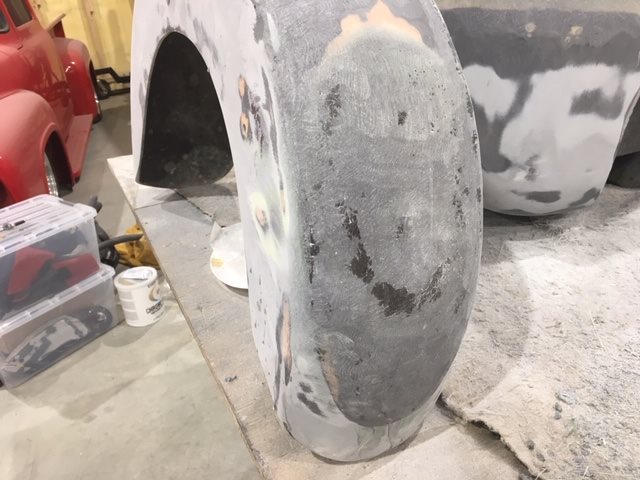
He told me not to go wild on fiberglassing the scoop as there would be a lot of layers ahead to blend it in with the body of the tub. So I moved onto the fender, using the same method he taught me with the recessed light.
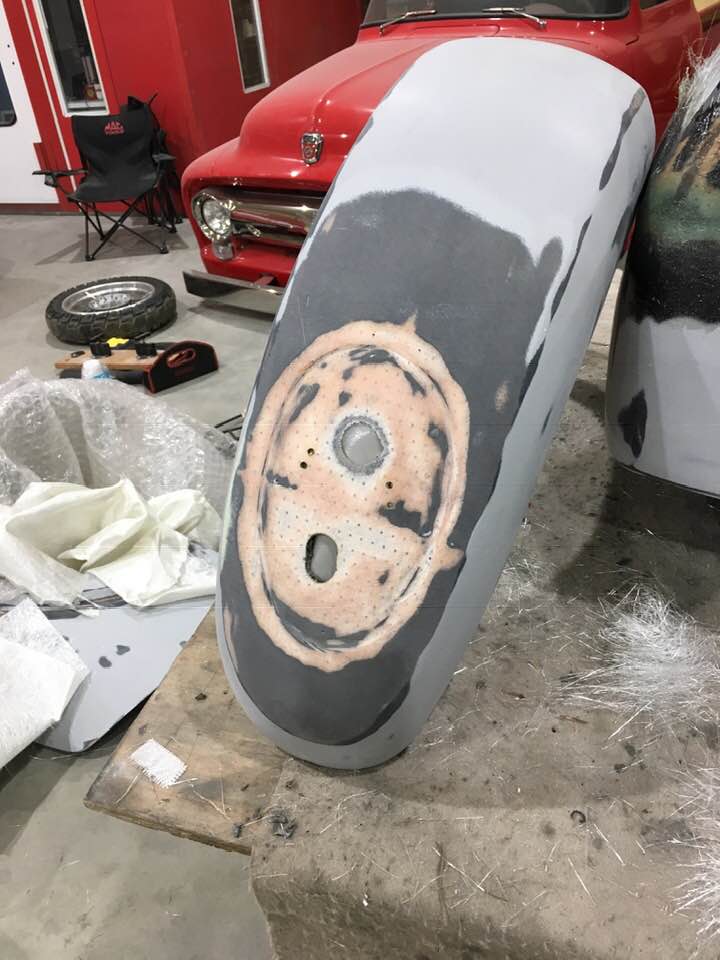
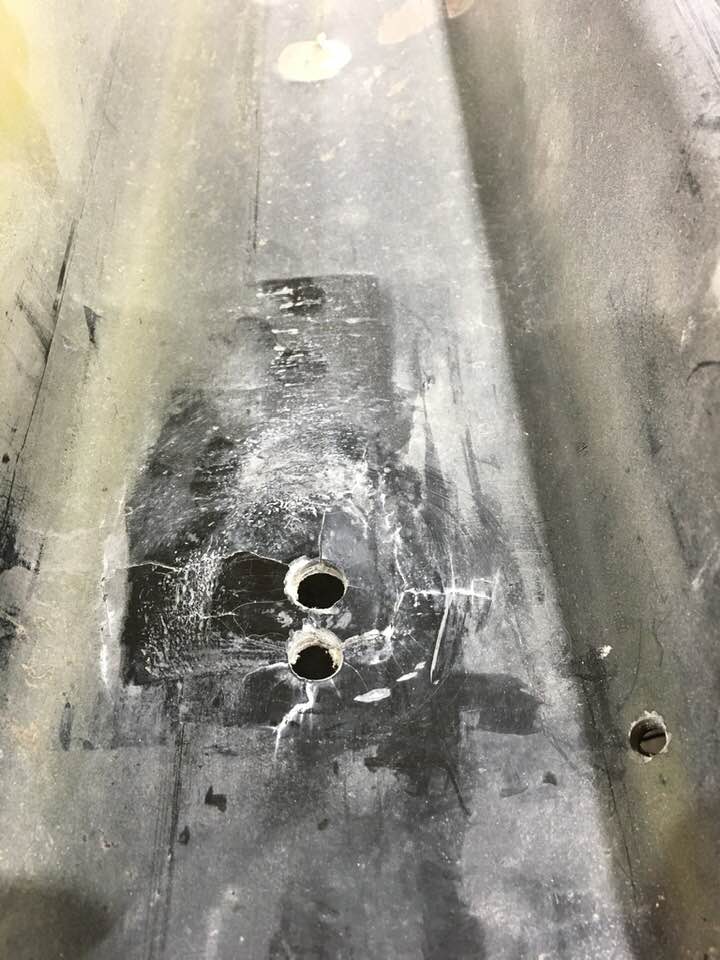
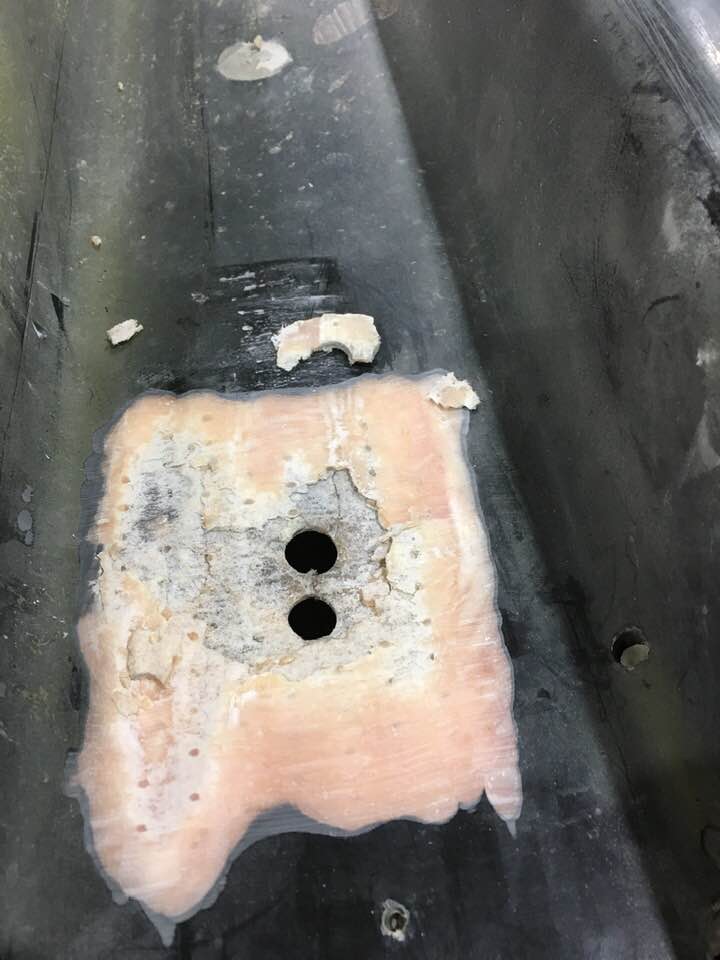
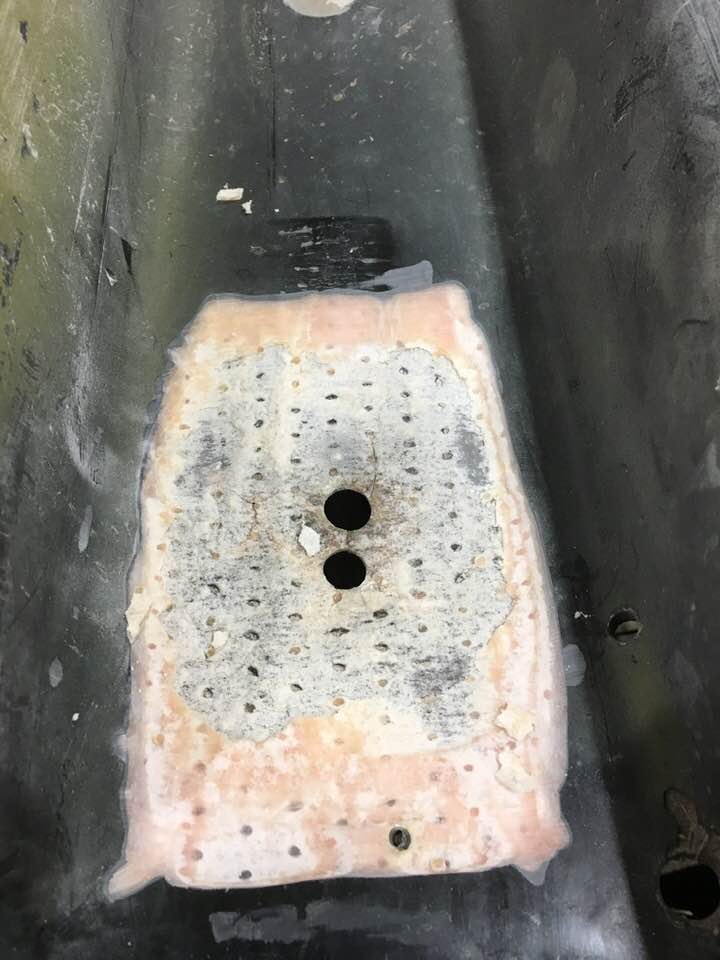
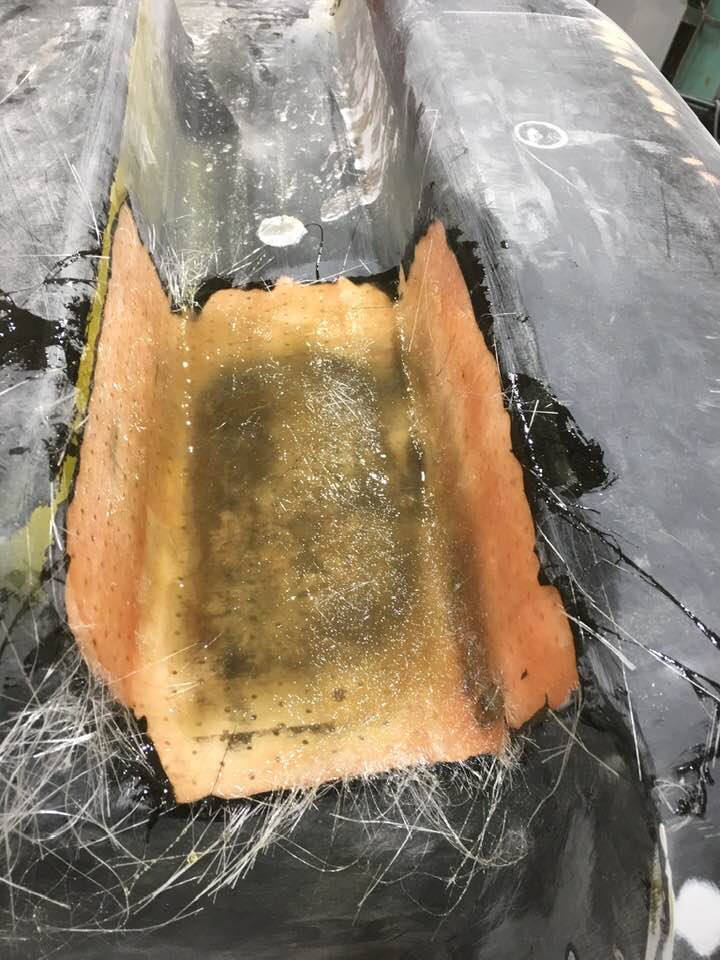
On the original rig the brake and taillight assembly had been on the fender, which meant it wasn’t visible to drivers behind me from certain angles. My plan was to relocate the lights to the back of the trunk, so the light assembly on the fended had to go. With the holes being much smaller I simply backed them with duct tape and started fiberglassing over them.
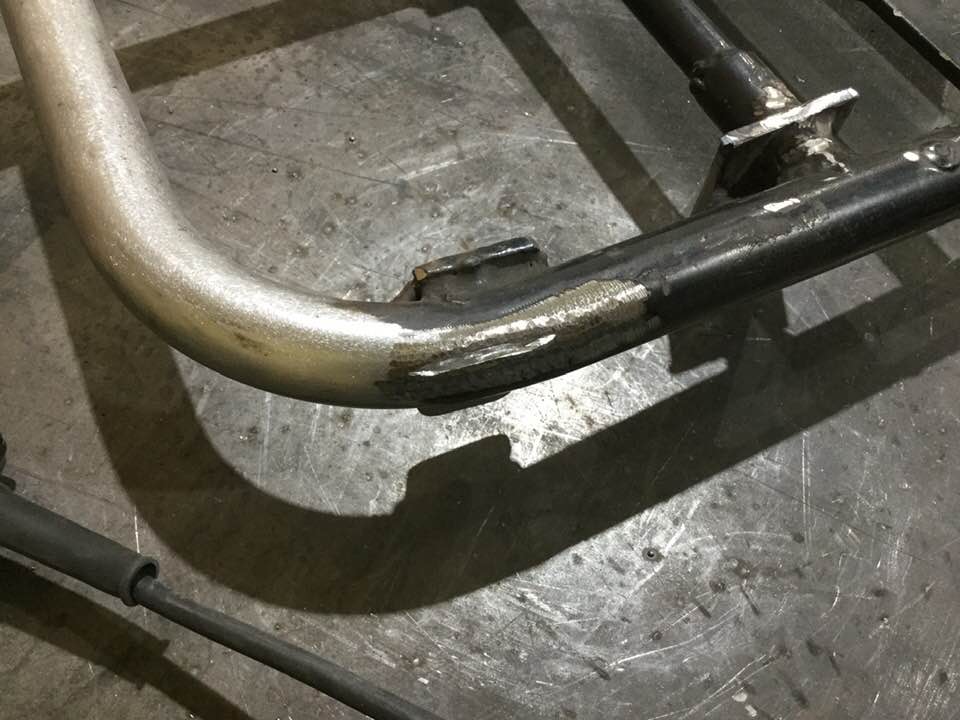
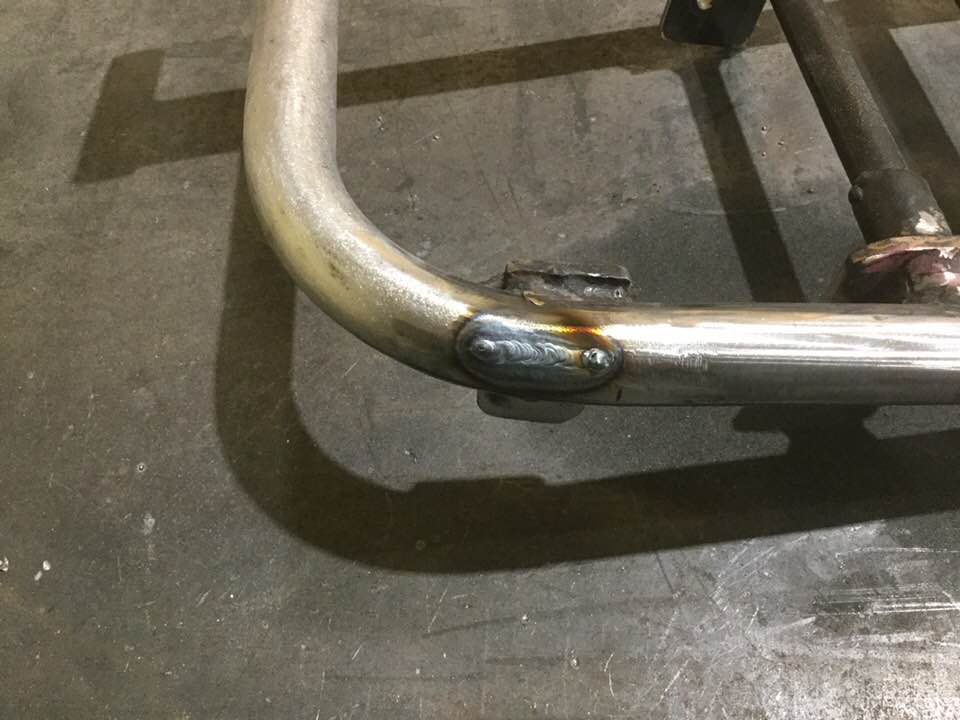
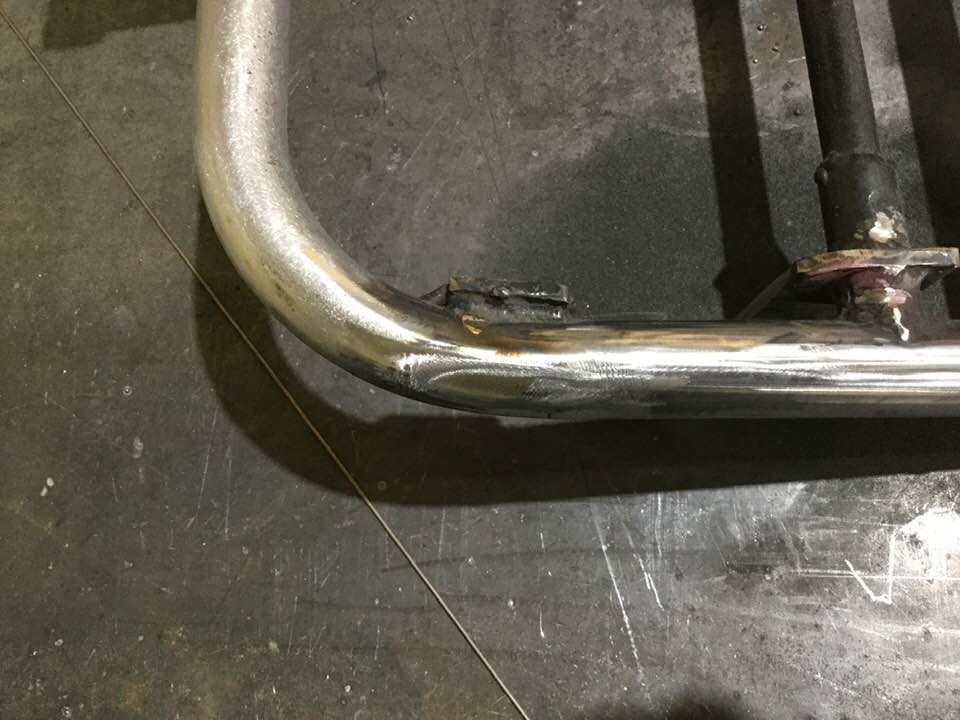
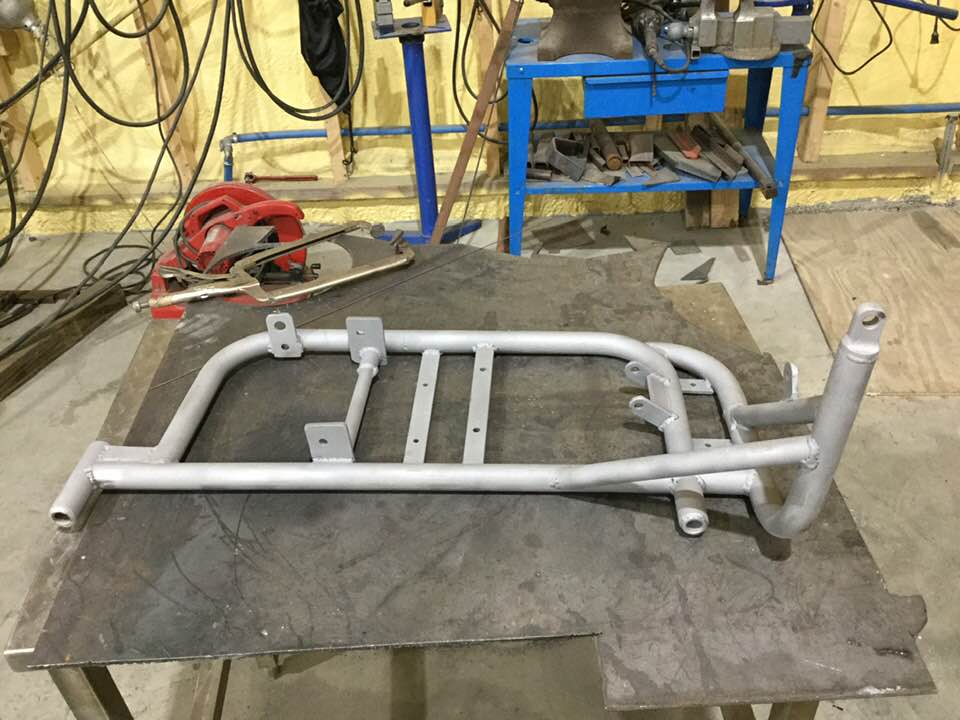
With the fiberglass curing I took a look at the sidecar subframe. There was a non-functional and aesthetically unpleasing bumper on the back I wanted to cut off, and a few very sloppy welds I wanted to redo.
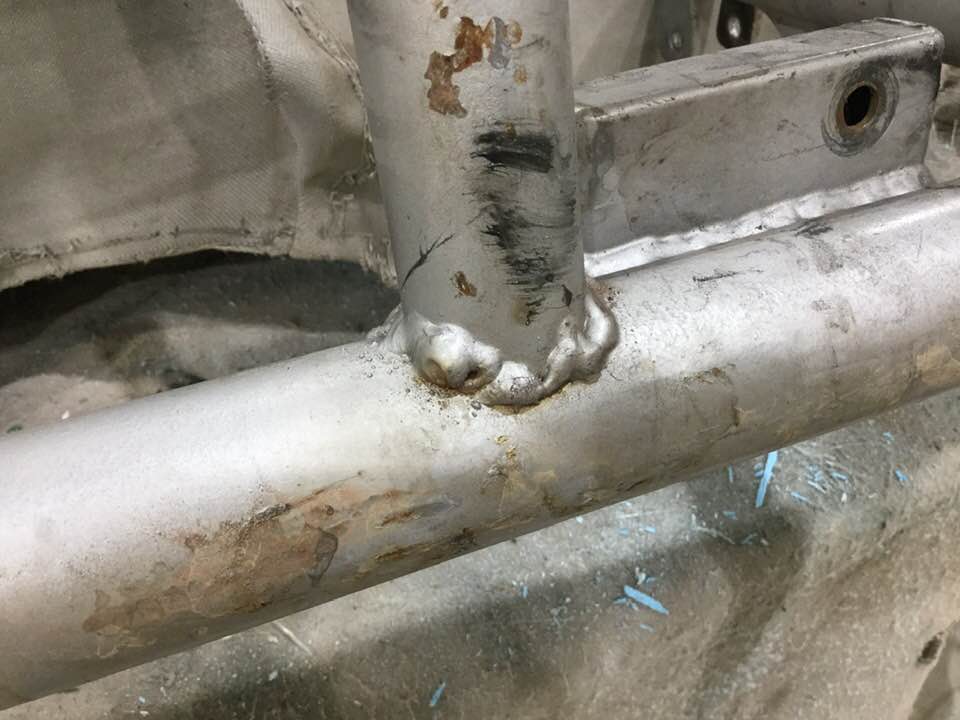
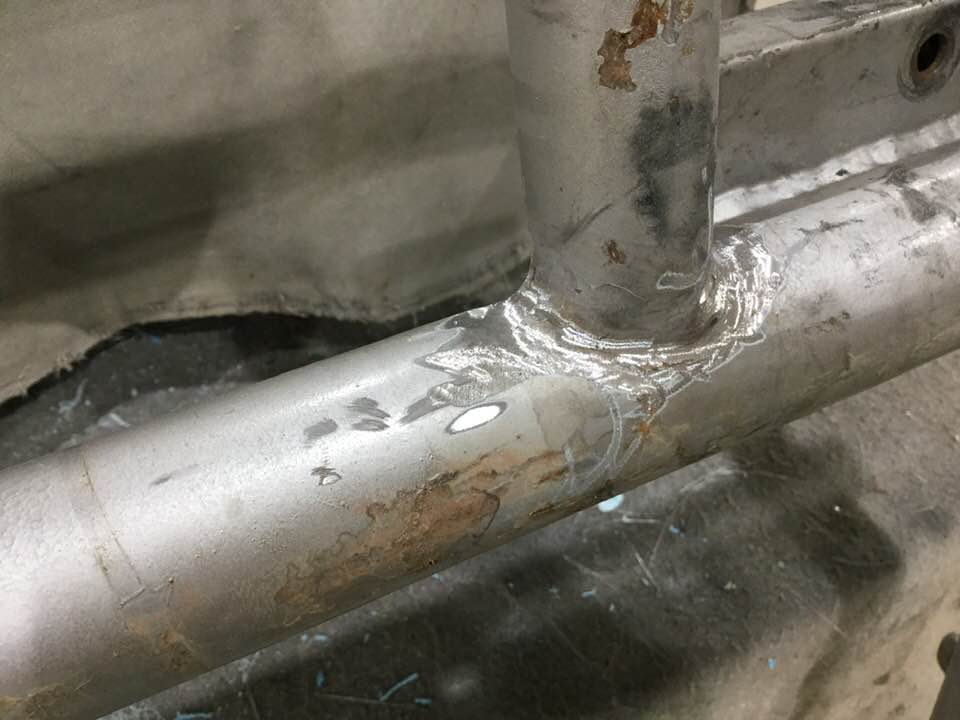

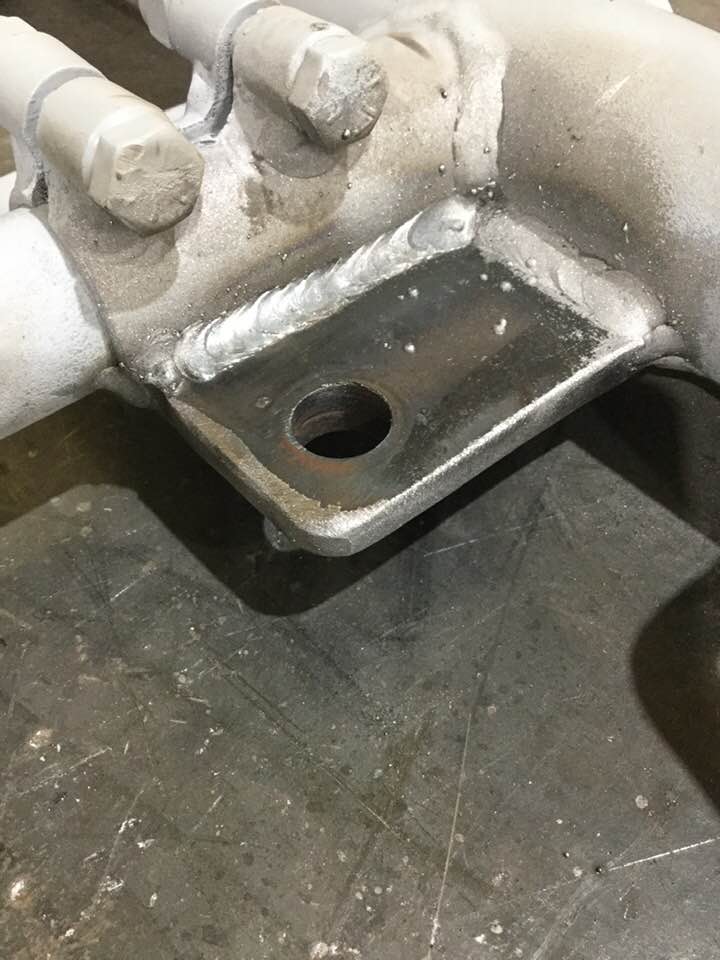
With the sidecar subframe welds redone, it was time to sandblast. We set up a sawhorse outside in the snow, fired up the big compressor, and stripped paint and corrosion down to bare metal.
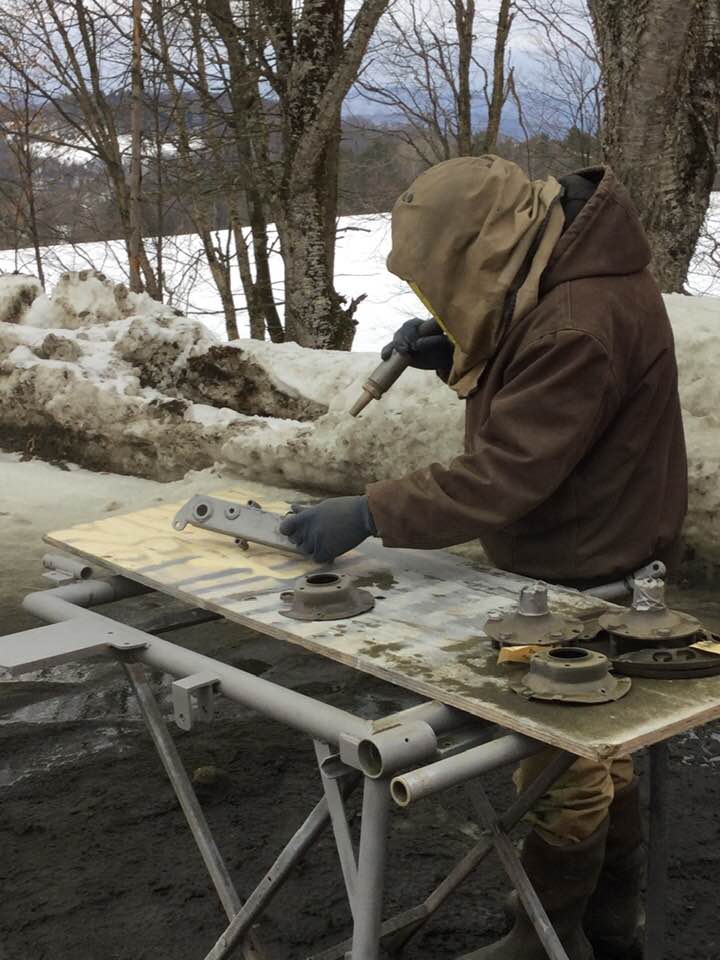
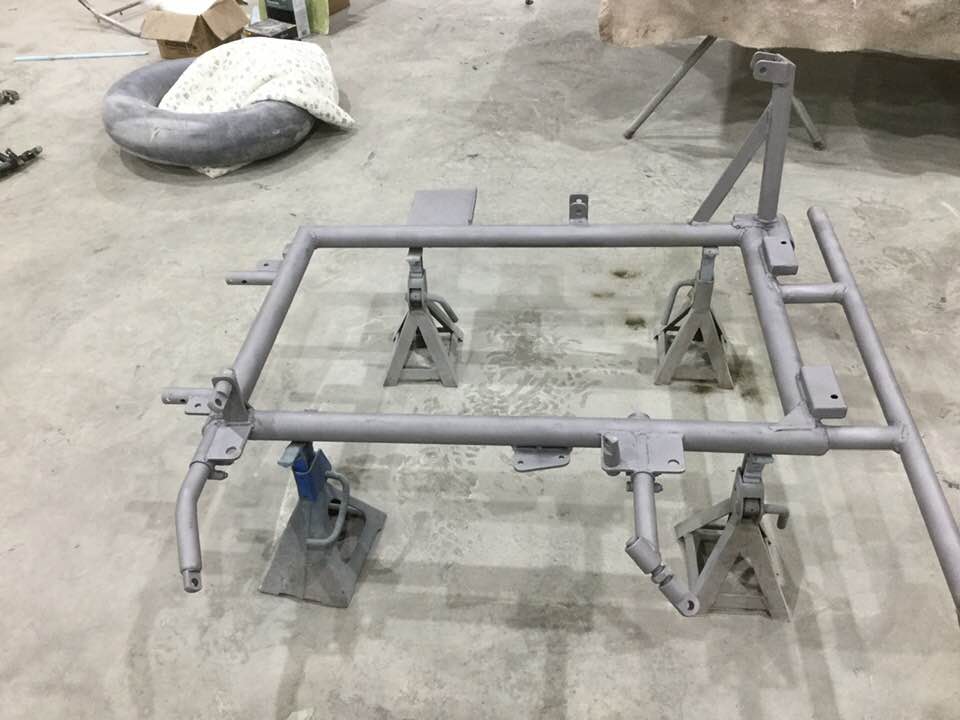
It took about an hour to sandblast my subframes and a few other parts, plus driveline components to a Porsche 911 Miyagi-san is restoring. From there everything went directly into the paint booth for a double coat of epoxy primer.

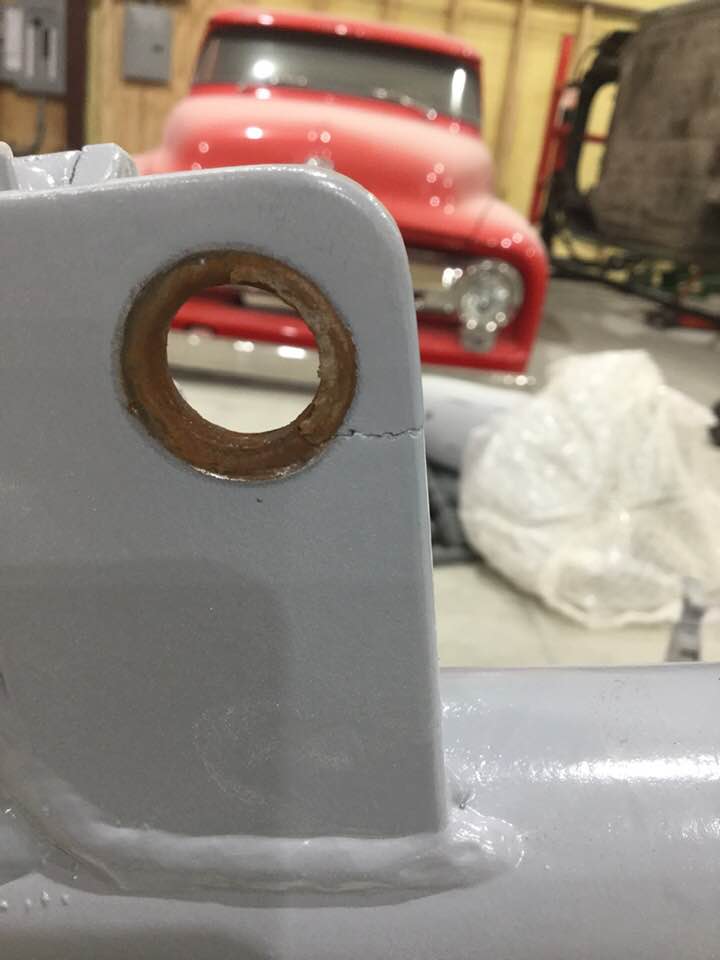
The primer did a fantastic job and the metal had bombproof protection. Unfortunately, I found a crack that should have been found and fixed a couple of steps before. The mounting plate for the upper rear strut – one that takes a lot of stress – had cracked and bent. It would have to be repaired.
I also found a cut in the bike’s subframe that was not visible till the subframe had been removed from the bike. It looked like someone with a cutting wheel had scored the metal during assembly. Being the smaller job, I tackled that one first.
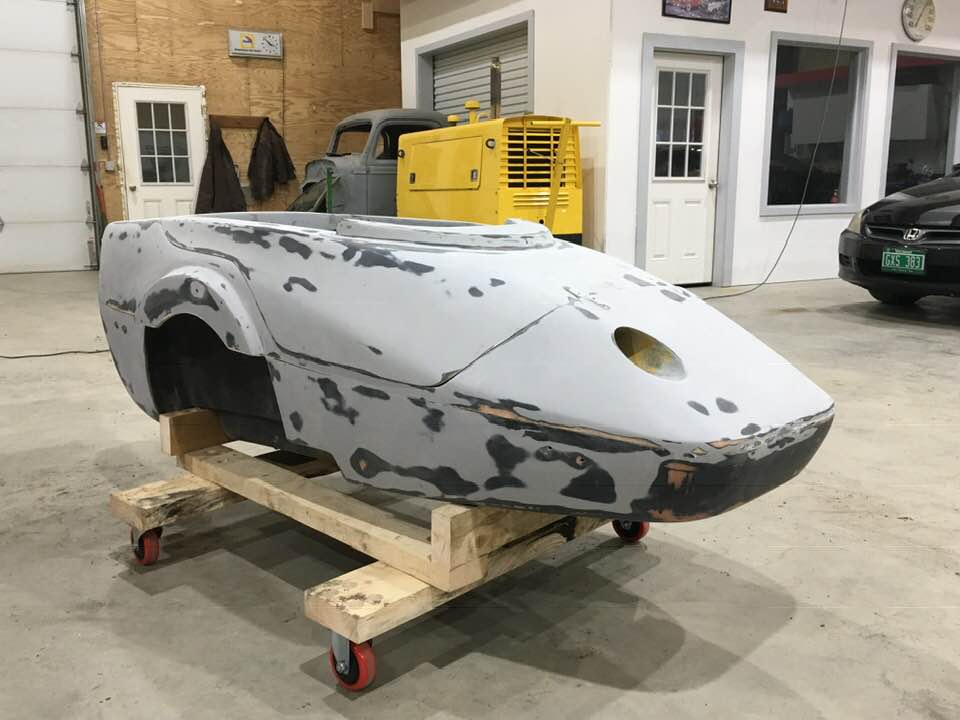
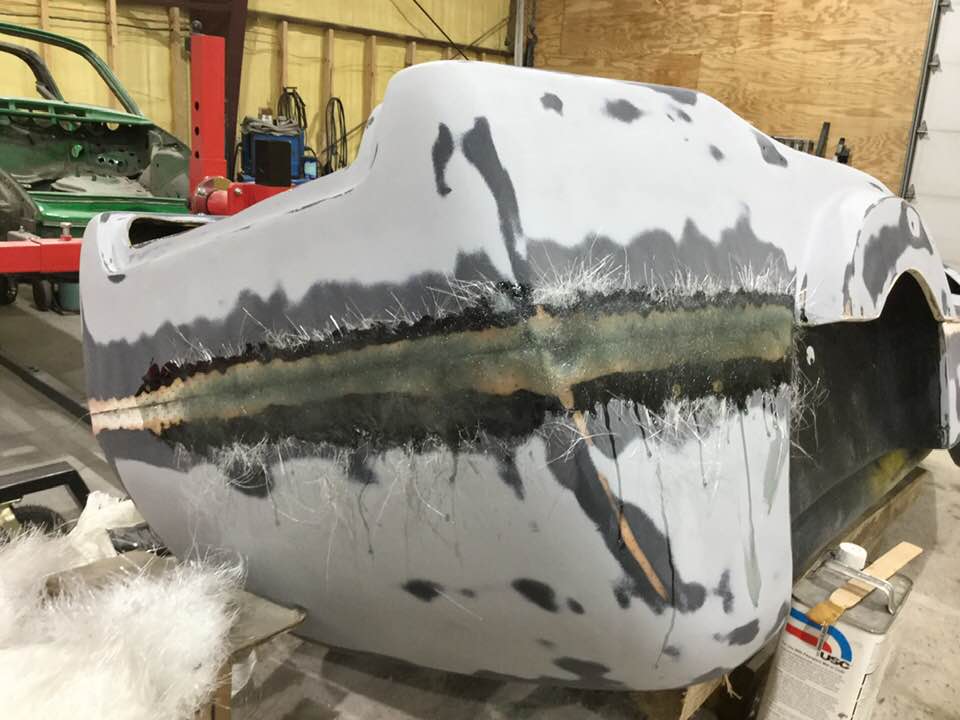
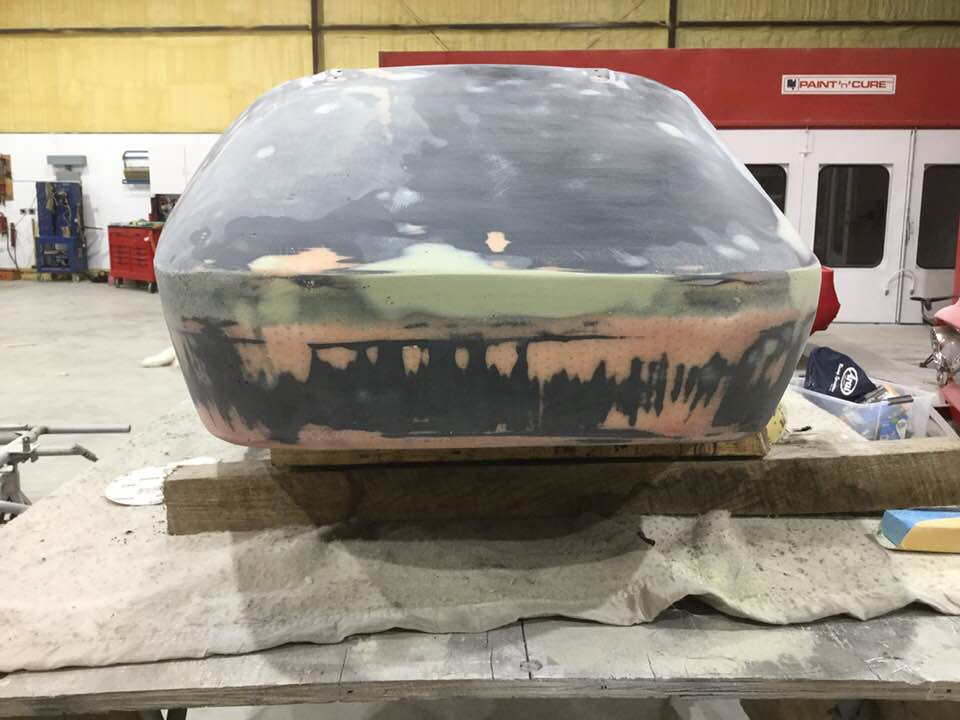
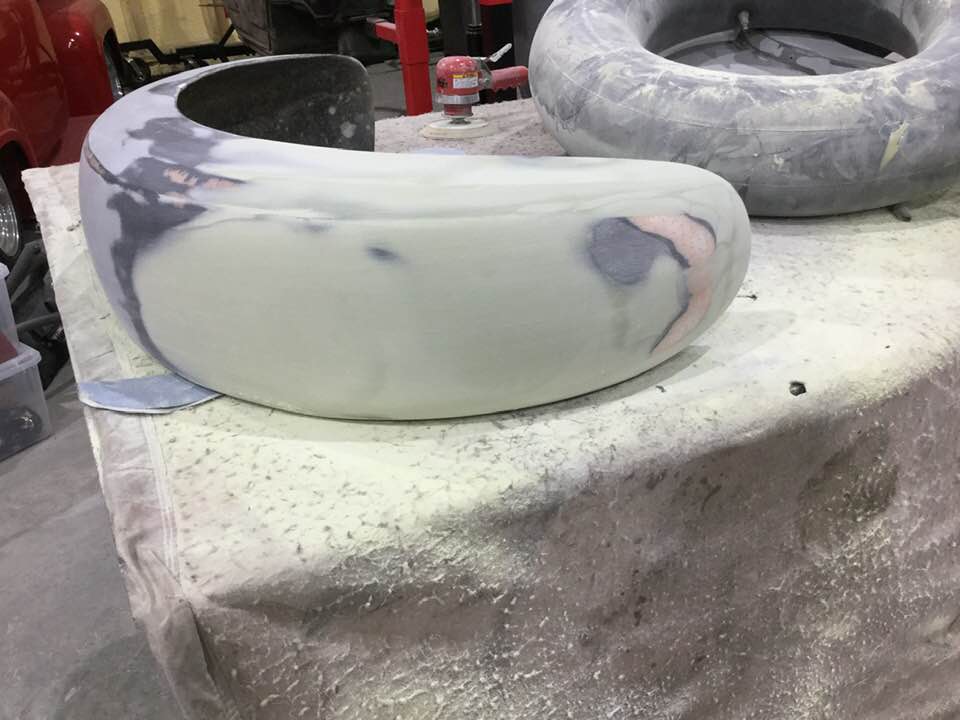
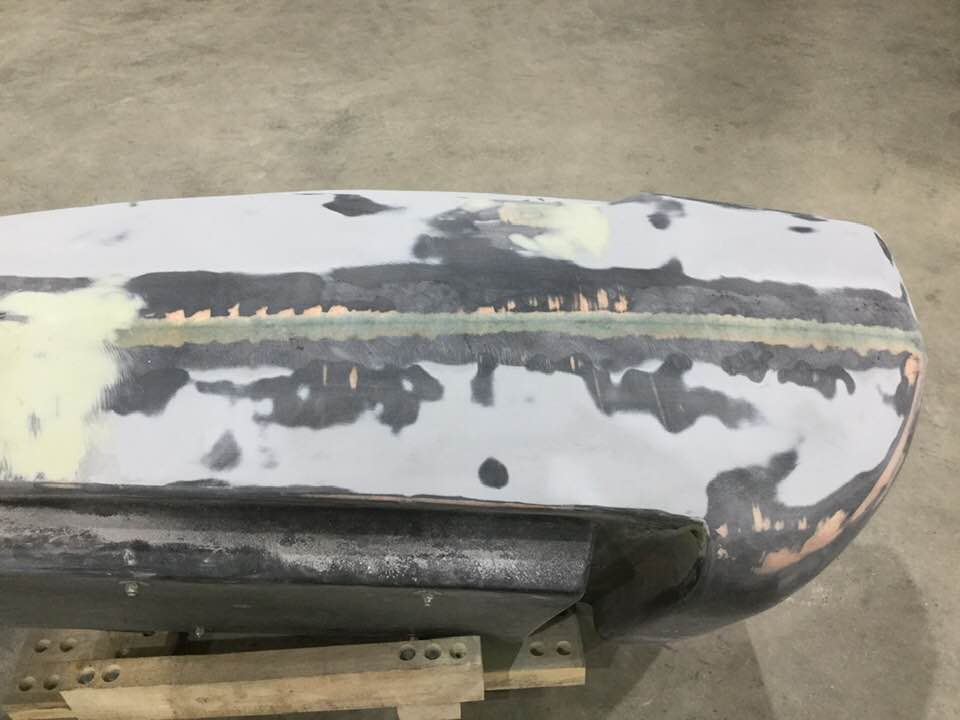
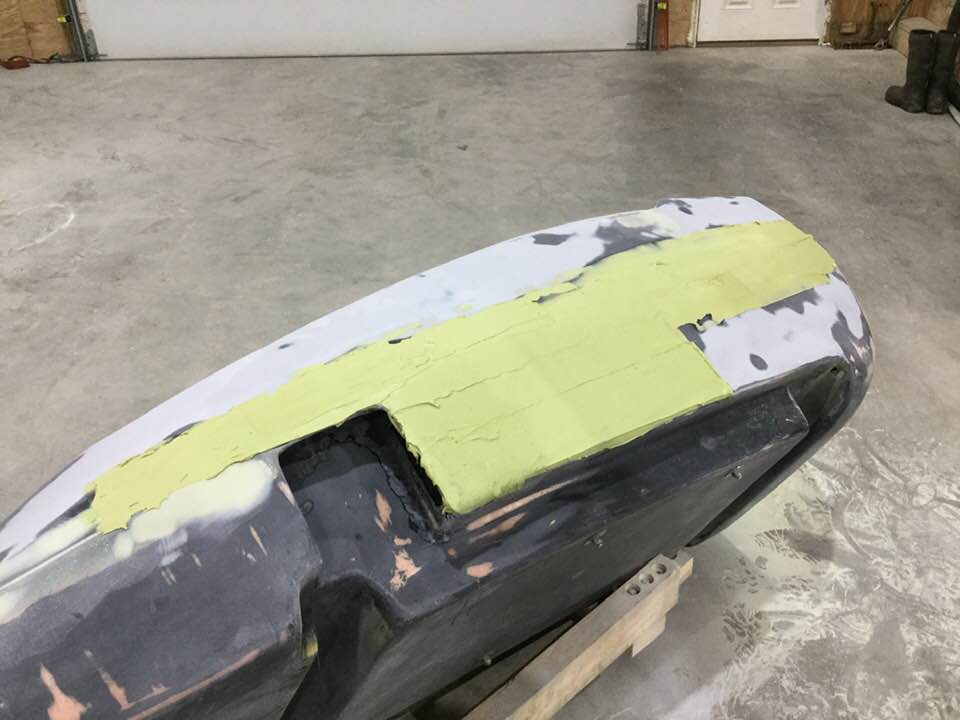
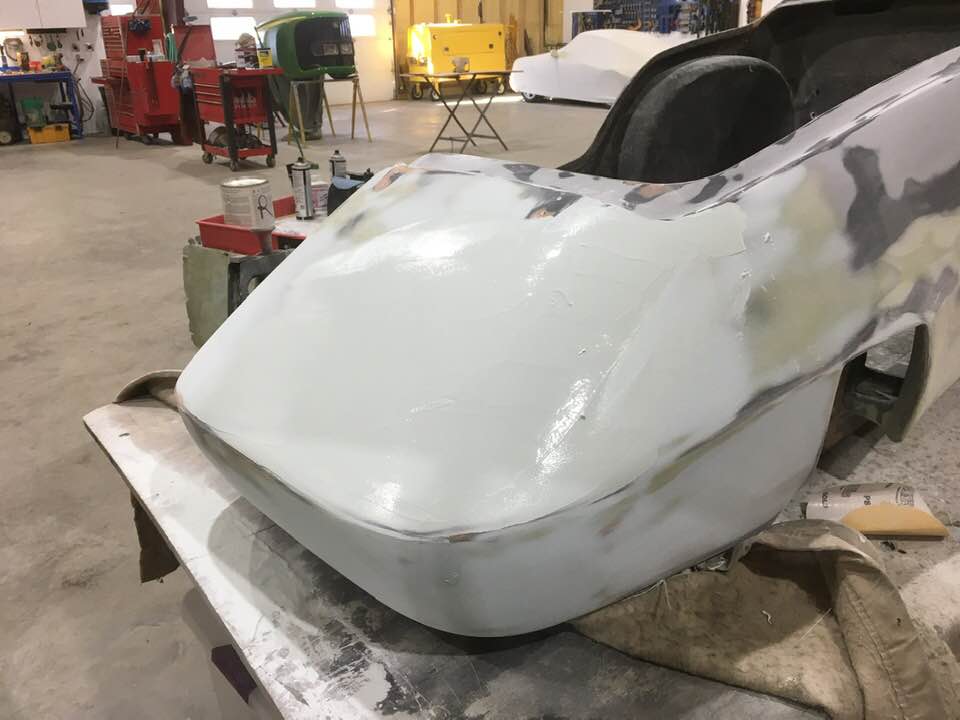
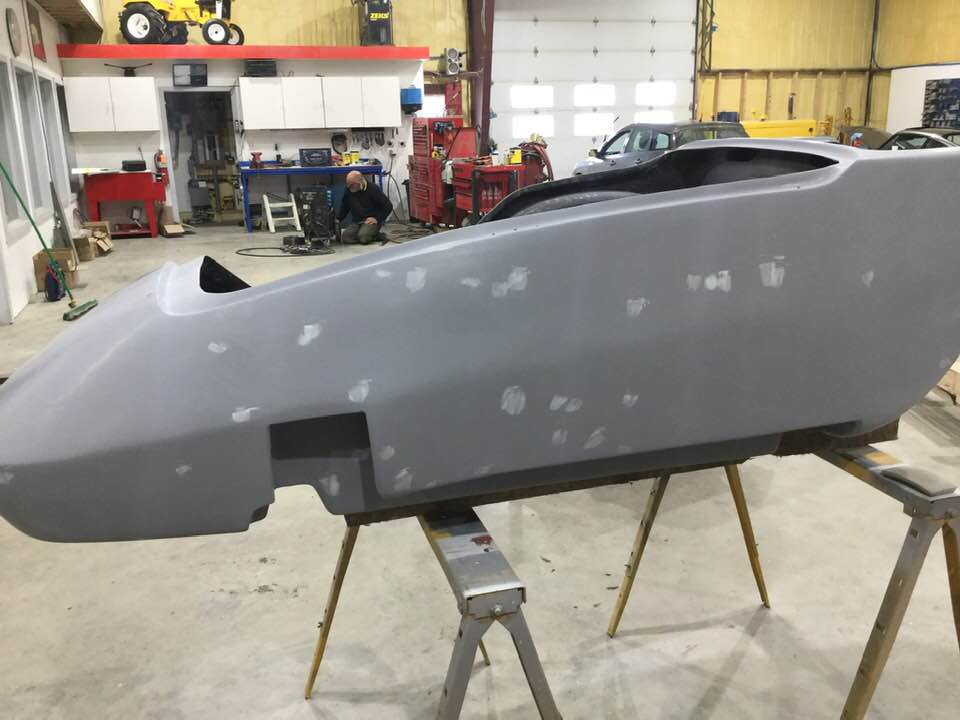
While the primer was curing, I revisited the nose of the sidecar, sanding endlessly to remove all the waves and ripples from my fiberglass modification as well as those left by the factory
Then back to the fender. After much sanding there were just a couple small dips of about a millimeter in depth, so I applied body filler. Then, you guessed it, more sanding.

Since I’d missed the damage to the subframe, I closely inspected every single part. Upon flipping the tub upside down I noticed damaged fiberglass at one of the mounting points.
One more light sanding of where the halves of the tub were joined, then an application of body filler followed by more sanding.
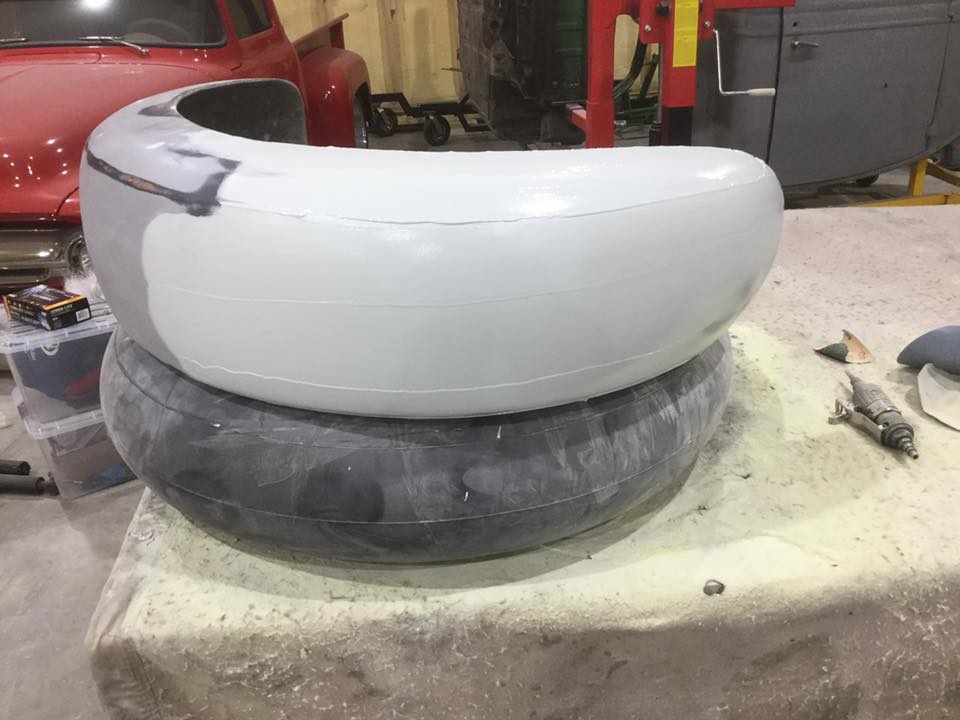
And finally, back to the air scoop. I reinforced the leading edge, then filled out the profile and used both fiberglass and filler to transition the curve into the body of the tub.
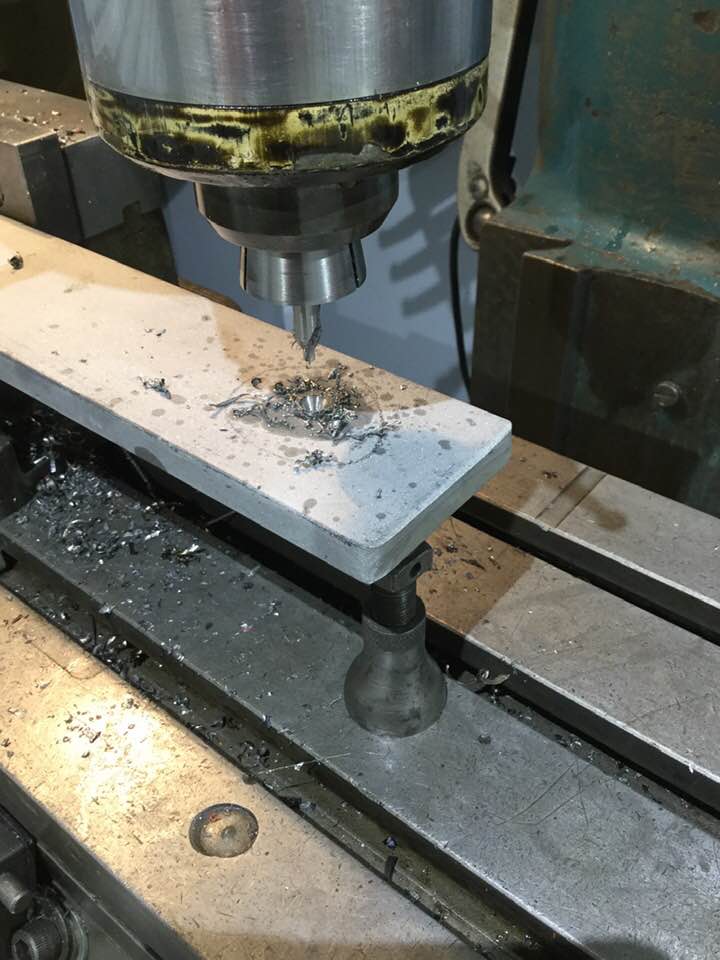
I needed a break from sanding, so fabricated a plate from 3/16 steel to reinforce the mounting plate that had been cracked and bent. It turned out pretty well!
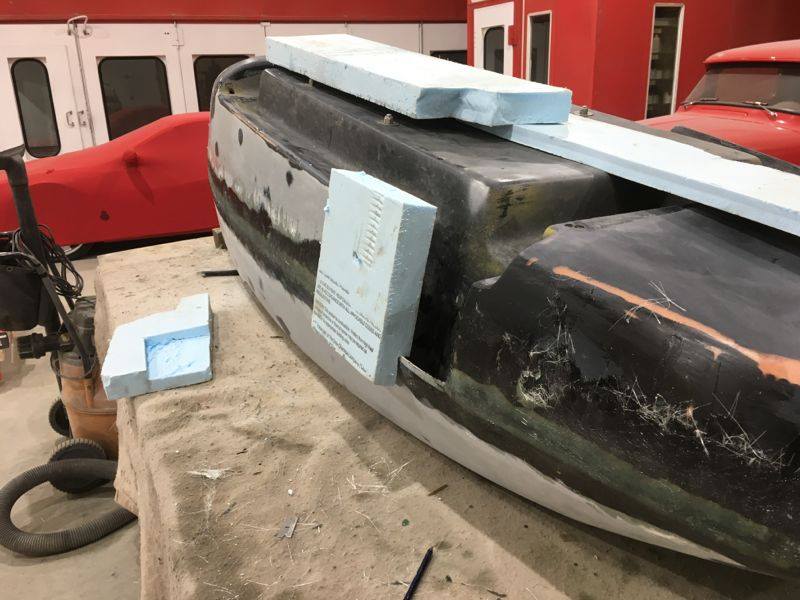
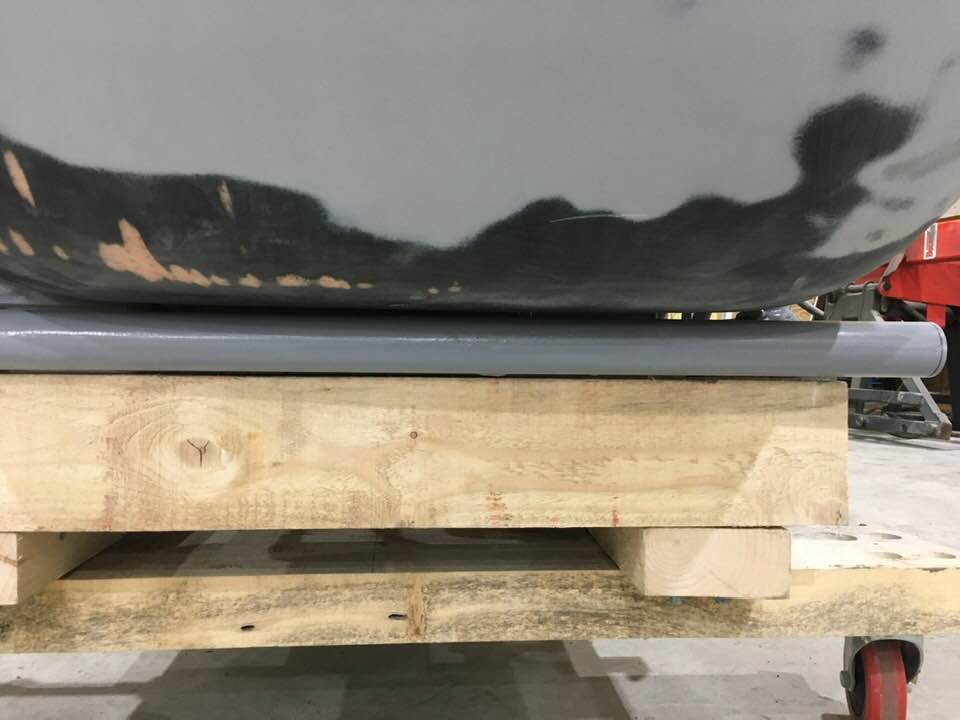
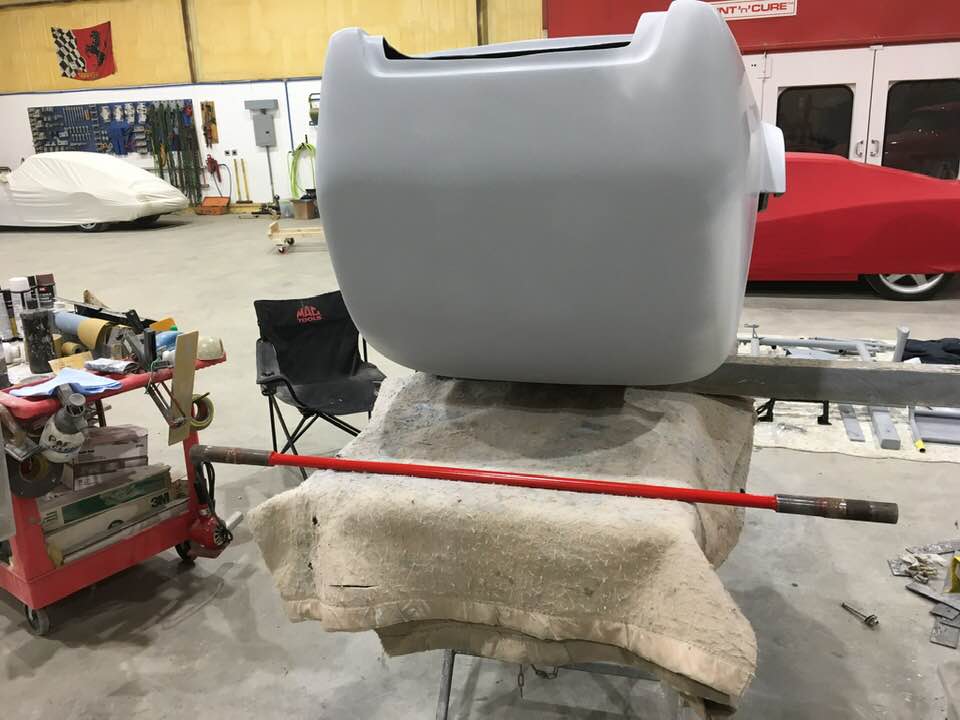
I wanted to lower the tub a bit to enhance stability in curves. I gathered boards in various thicknesses and by trial and error found how low I could go before the tub contacted the metal subframe.
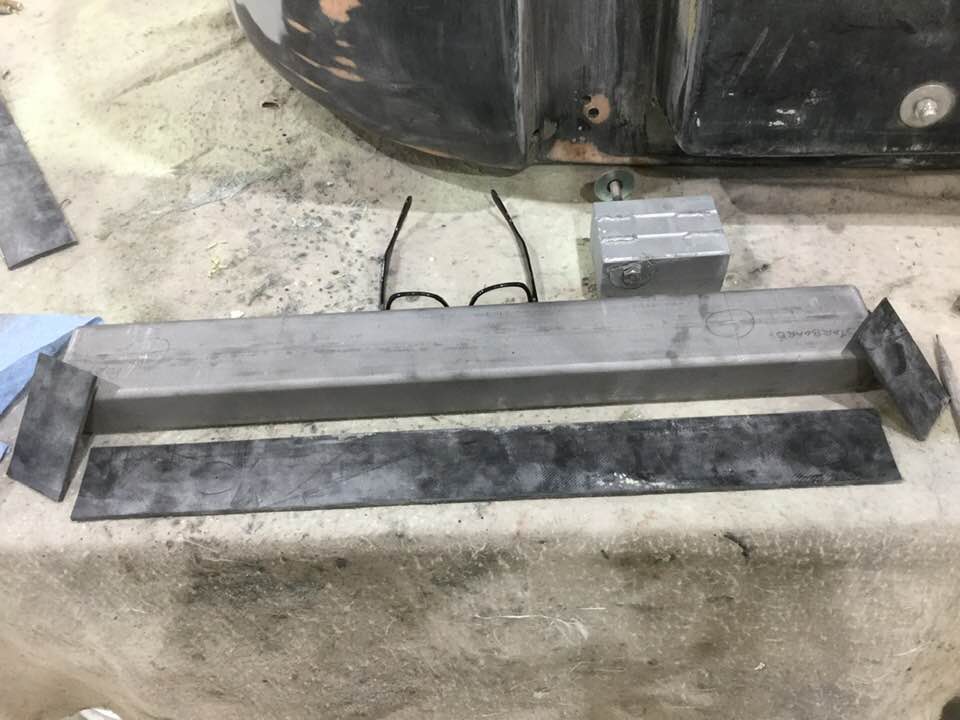
Armed with that information I sourced steel bars to run the full width of the tub. Previously the mounts were just six inches long. I felt having them run the full width would provide greater support. To protect the fiberglass I would top the metal bars with high density rubber strips
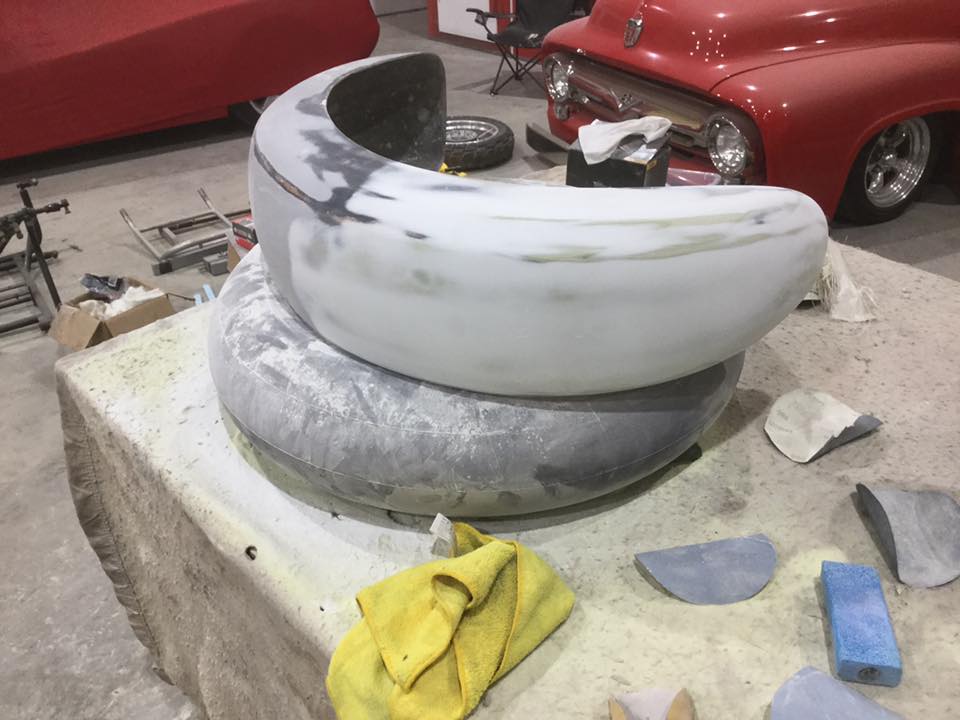
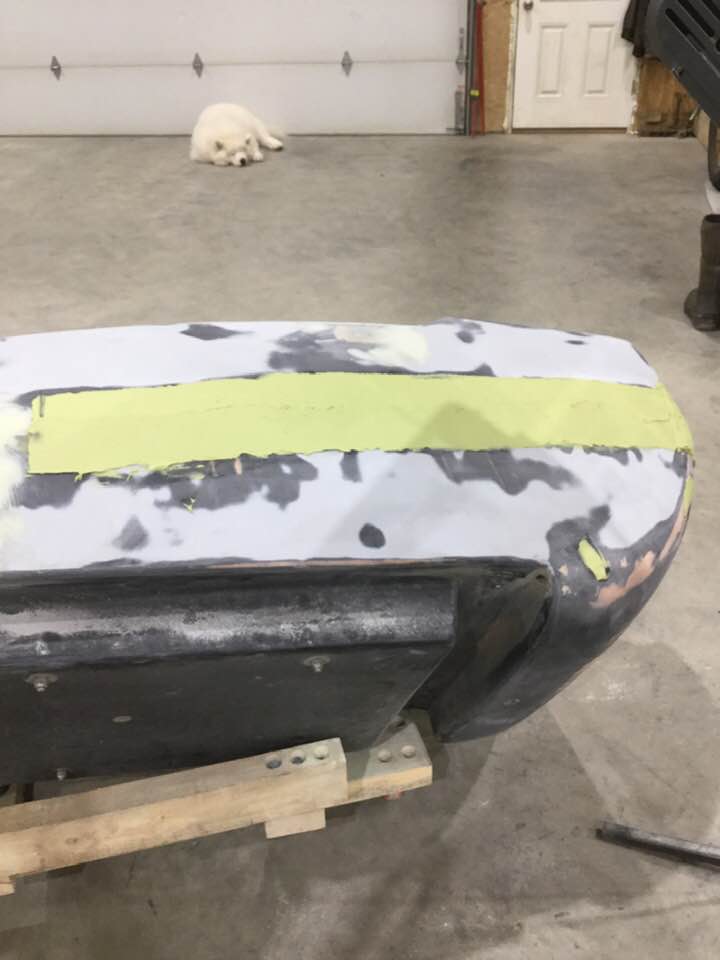
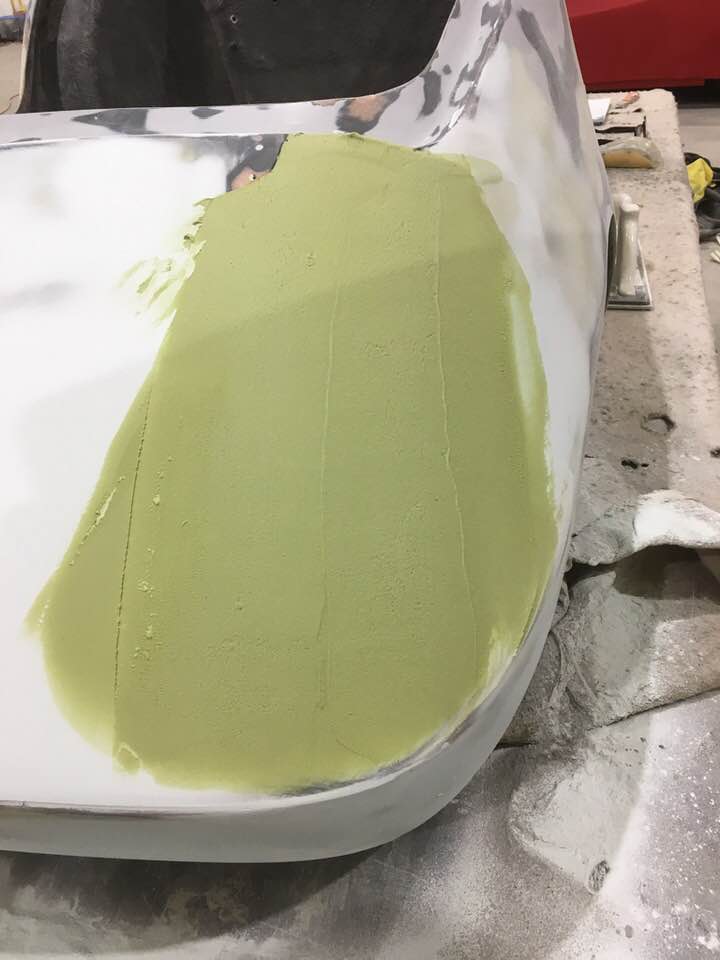
Now back to the body. The curve of the nose had bothered me for some time. It was asymmetrical from the factory, and with that recessed headlight gone I saw a chance to make the inside curve a bit gentler. More filler, more sculpting, and I had it! Lastly, a coating of glaze to fill tiny imperfections.
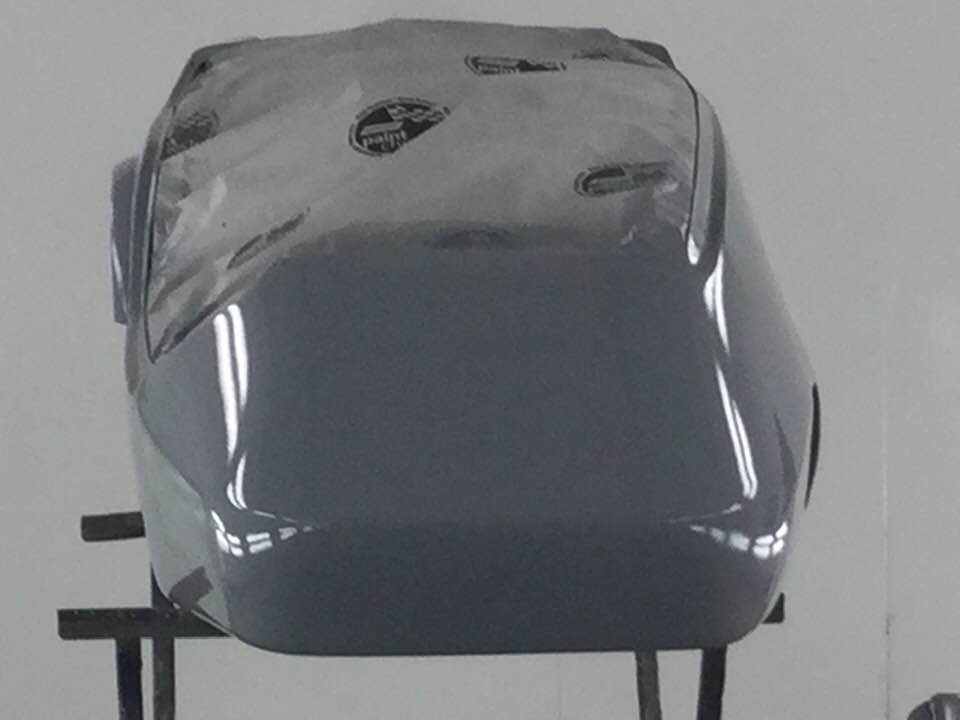
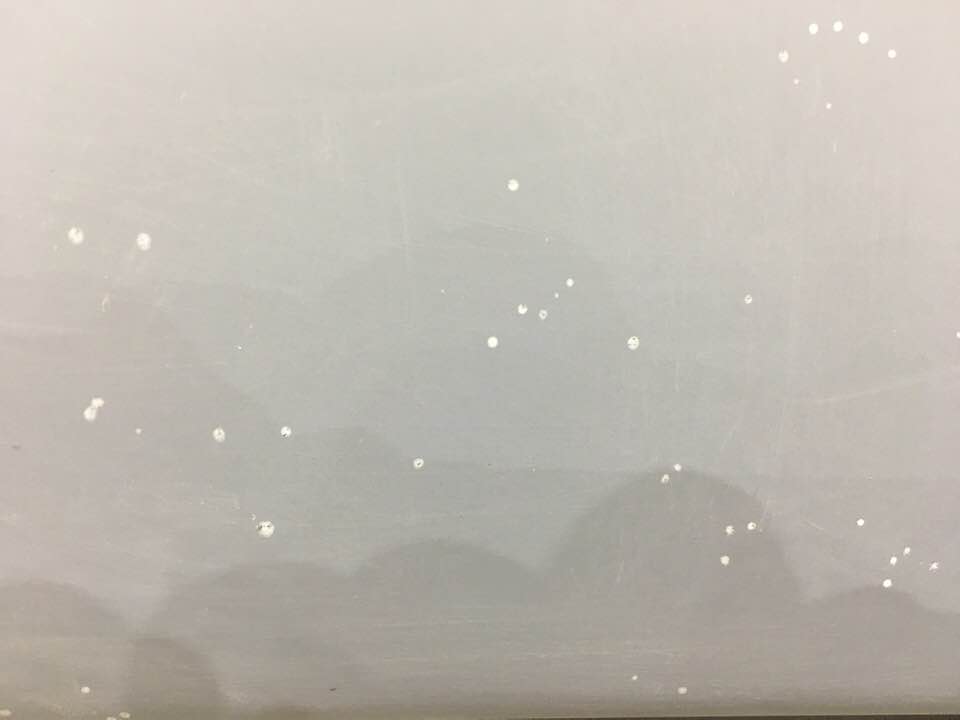
I knew better than to think the surface was flawless. Miyagi-san applied guide coat to my carefully sanded tub and had me sand it with 600 grit. Sanding would remove the guide coat from perfect surfaces, but not from imperfections. Sure enough…

But after still more sanding it looked fantastic! Time to deal with the remaining bits and pieces.
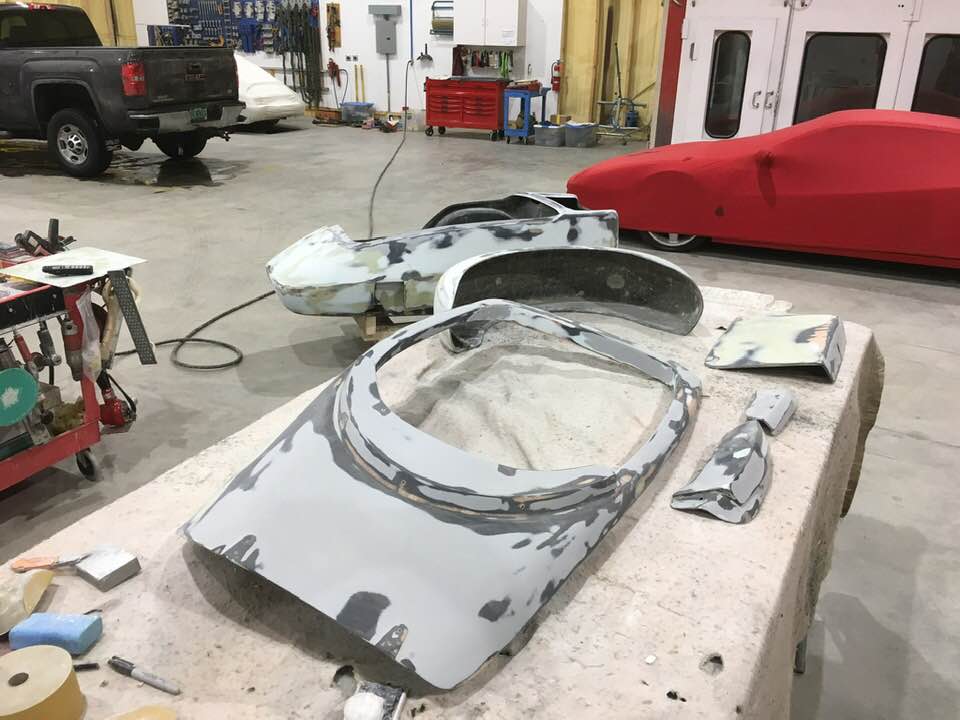
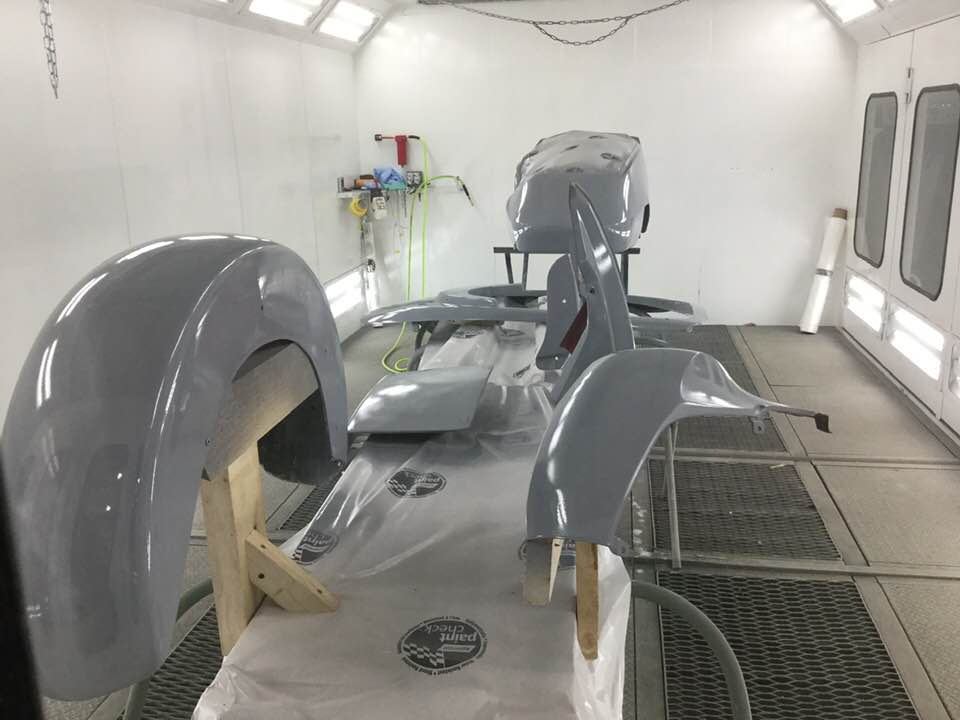
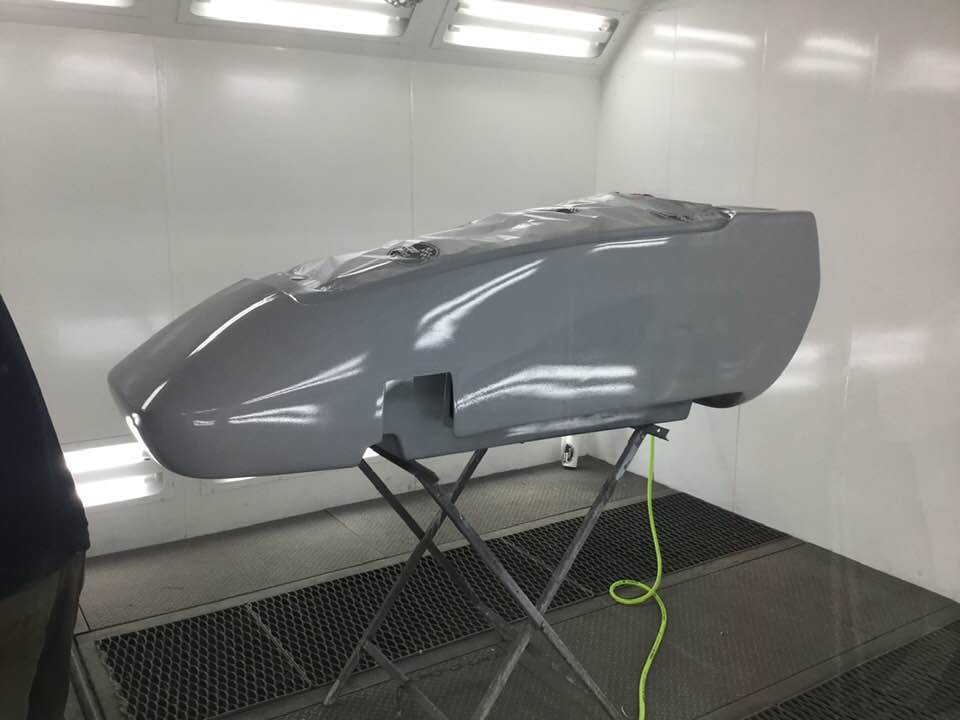
And finally, the whole thing gets epoxy primed!
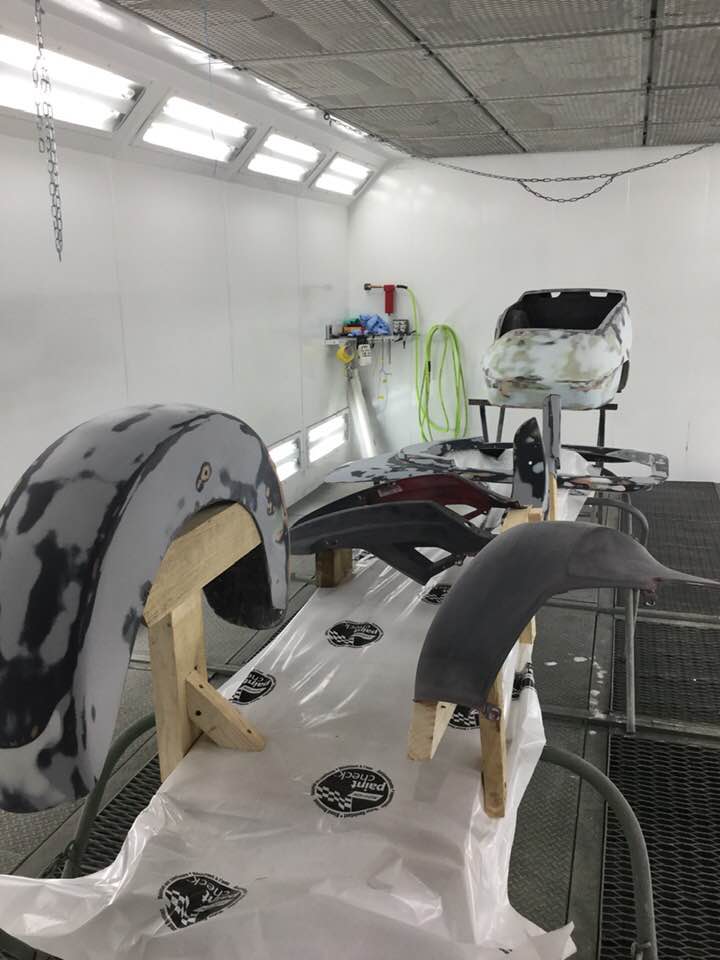
I painted the swaybar red. Even though nobody will ever see it inside its protective tube, I’ll know it’s there. Sort of like you know it’s going to be a great ride when you slip on your red underwear.
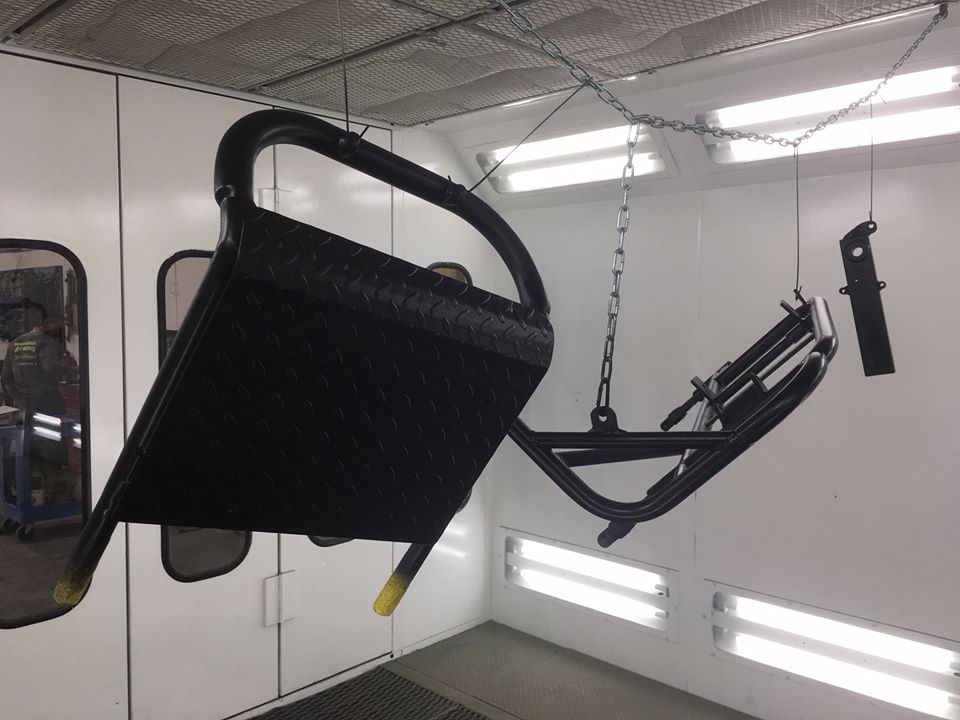
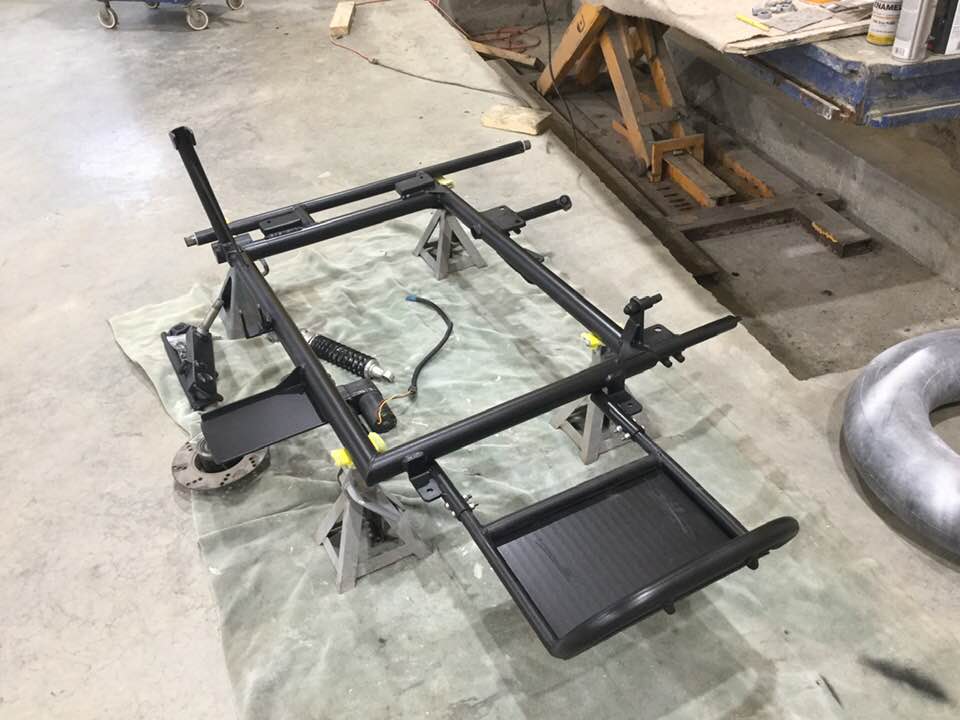
The subframe, sidecar frame, lightbar, struts and swingarm are all either painted or covered with chipguard. Reassembly begins.
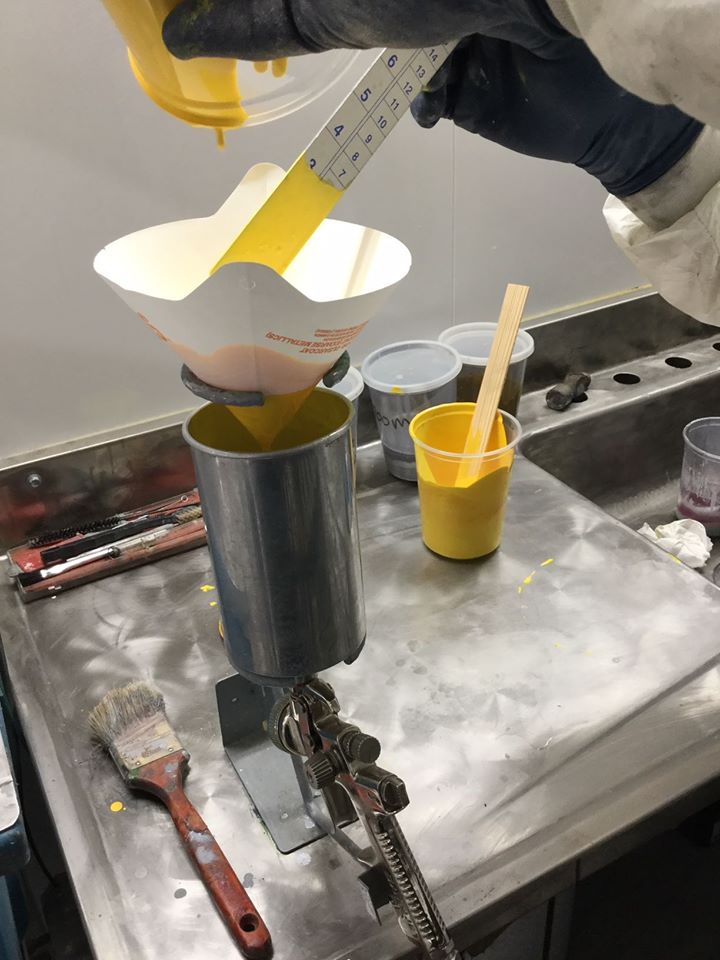
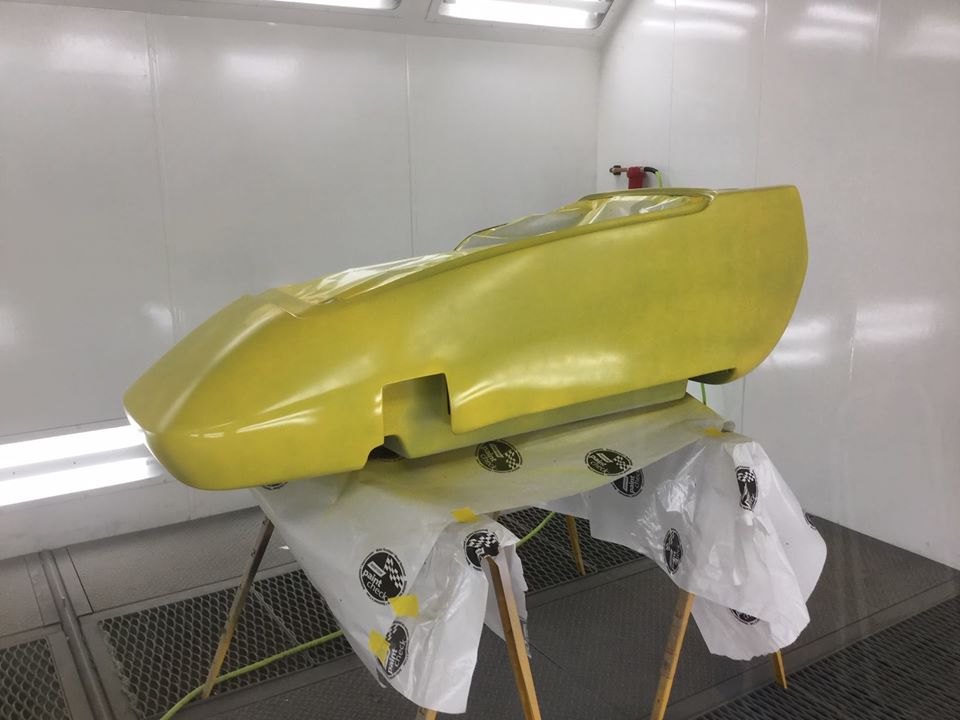
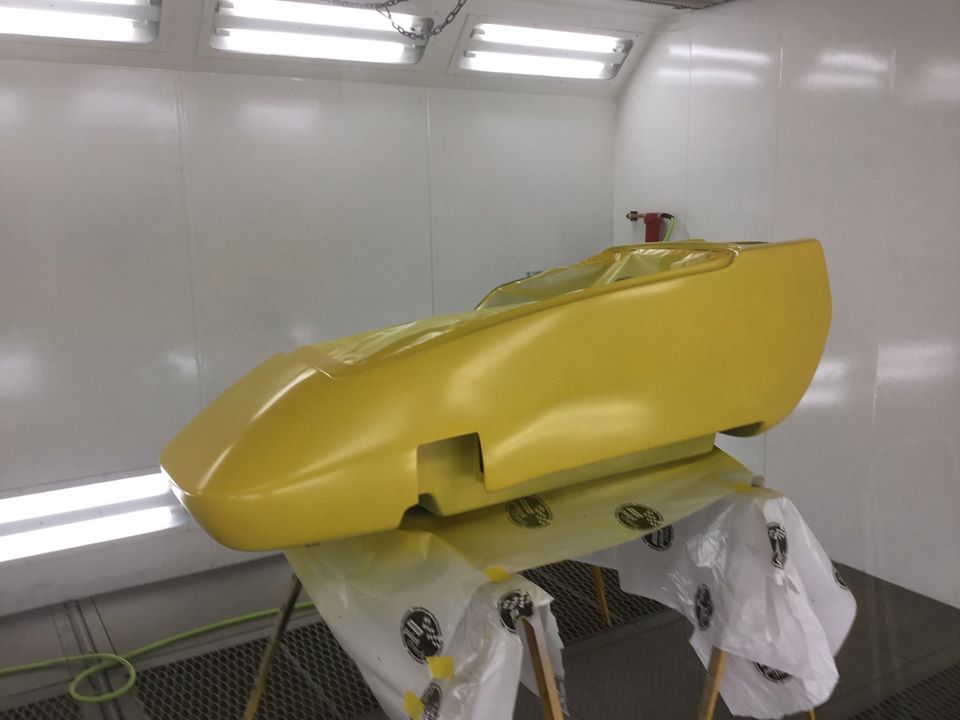
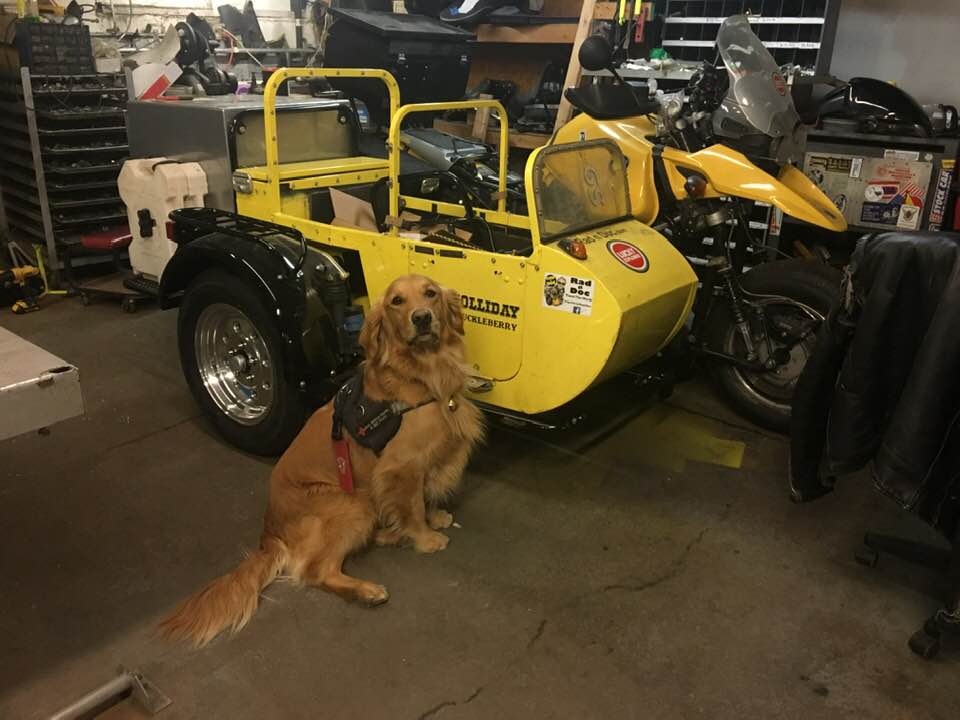
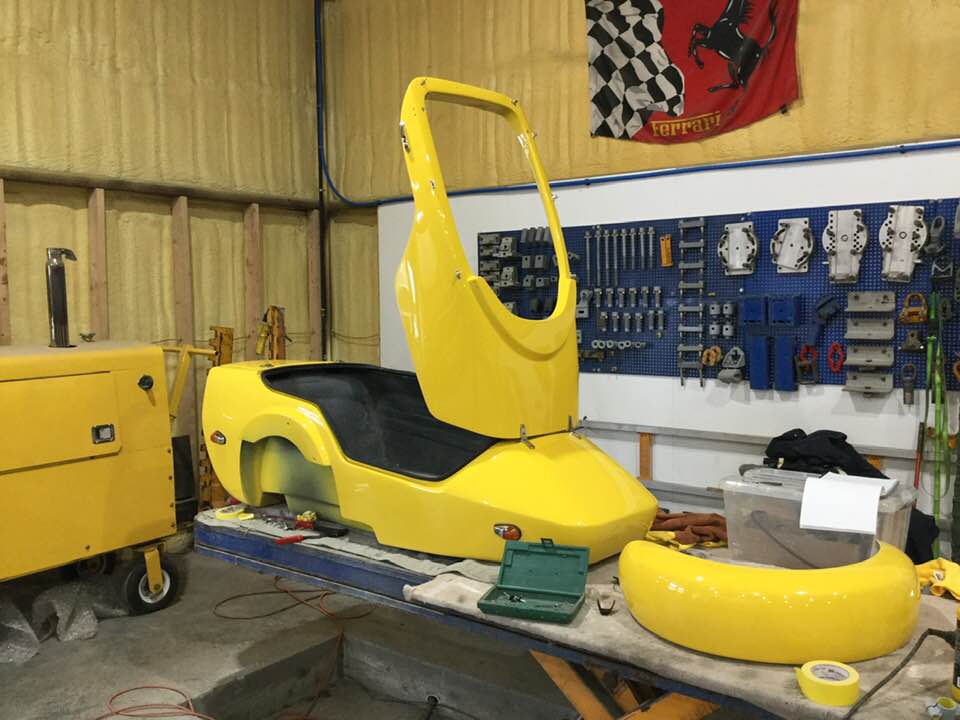
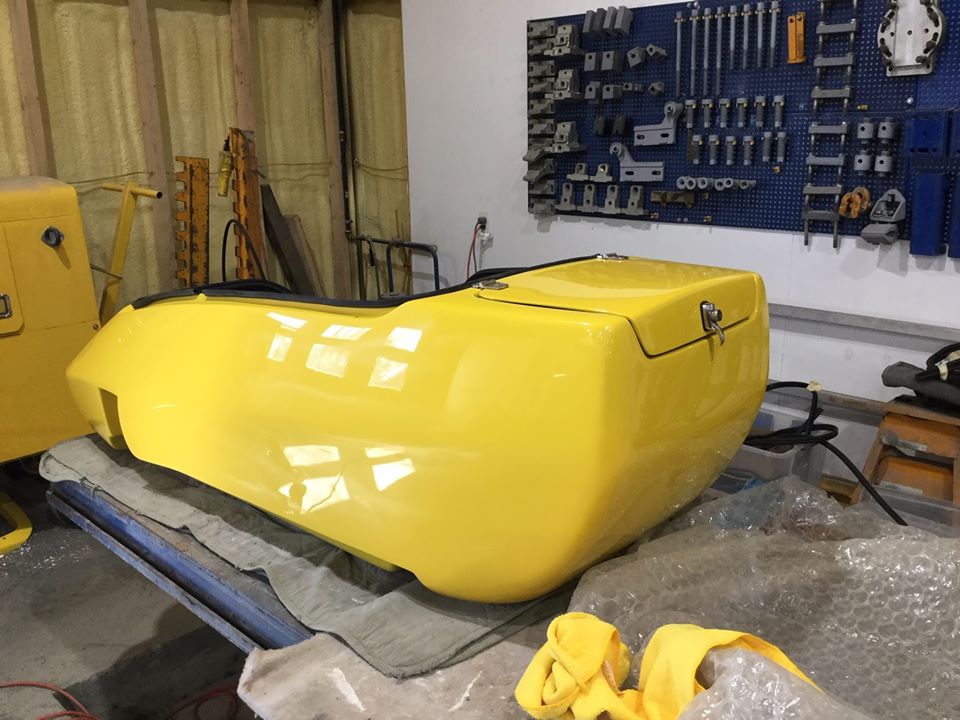
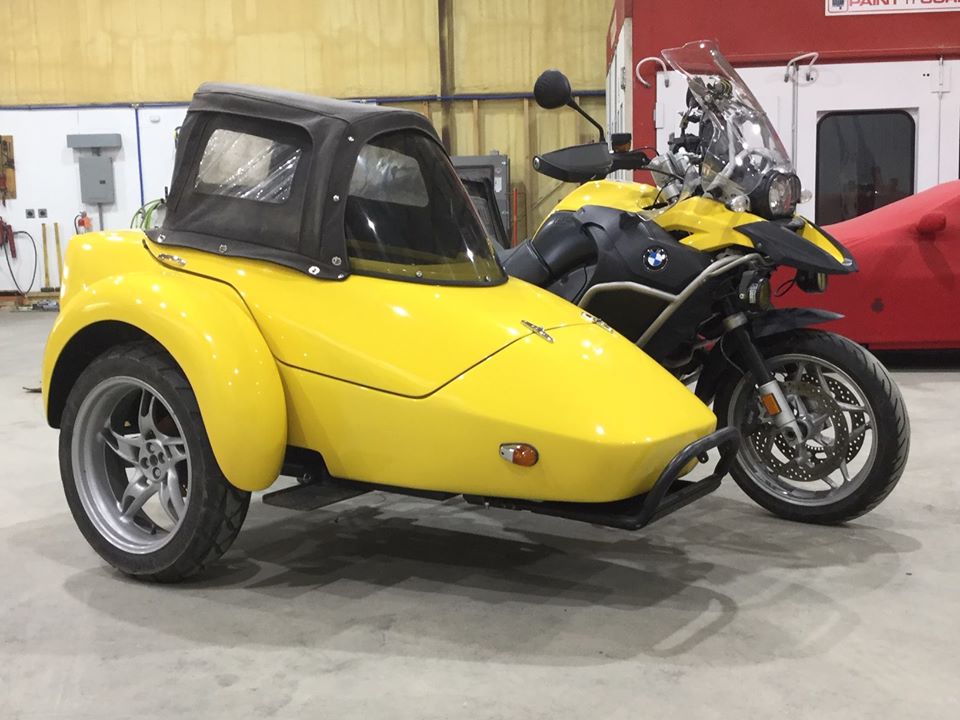
Miyagi-san mixes the paint. We’re going with Dodge Viper Yellow. The first coat is unimpressive. The second coat is meh. The third coat begins to look like something special and the fourth coat is OMG beautiful!
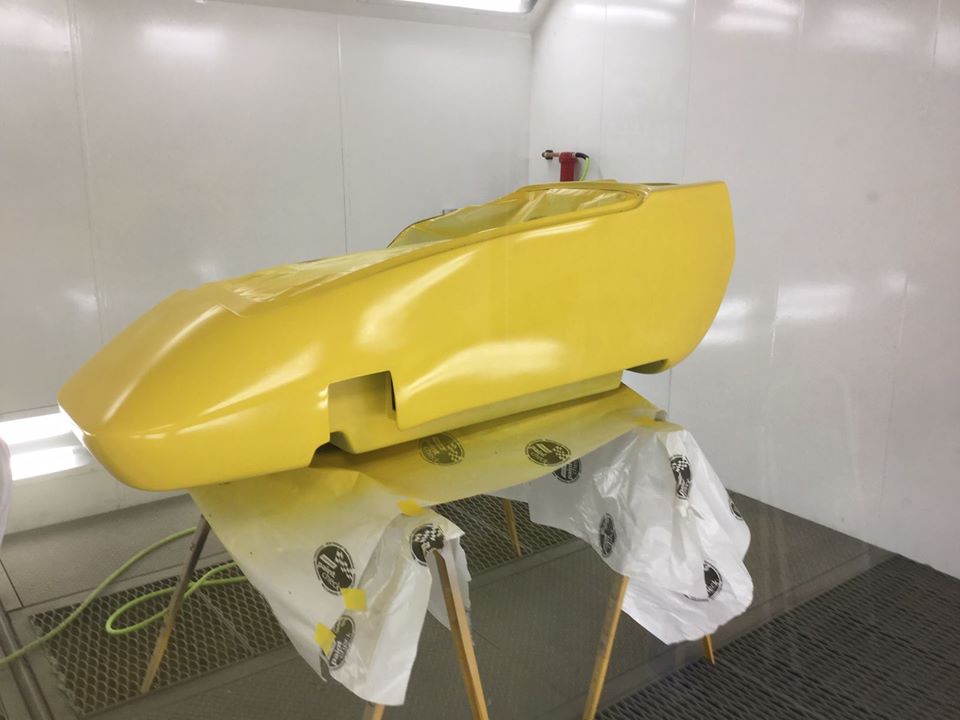
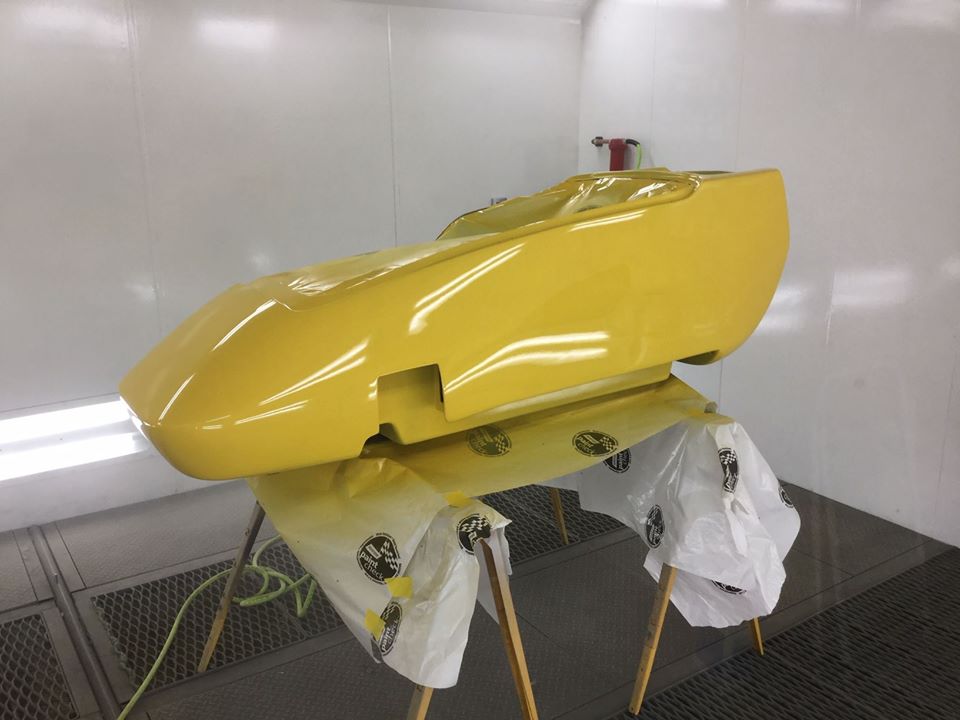
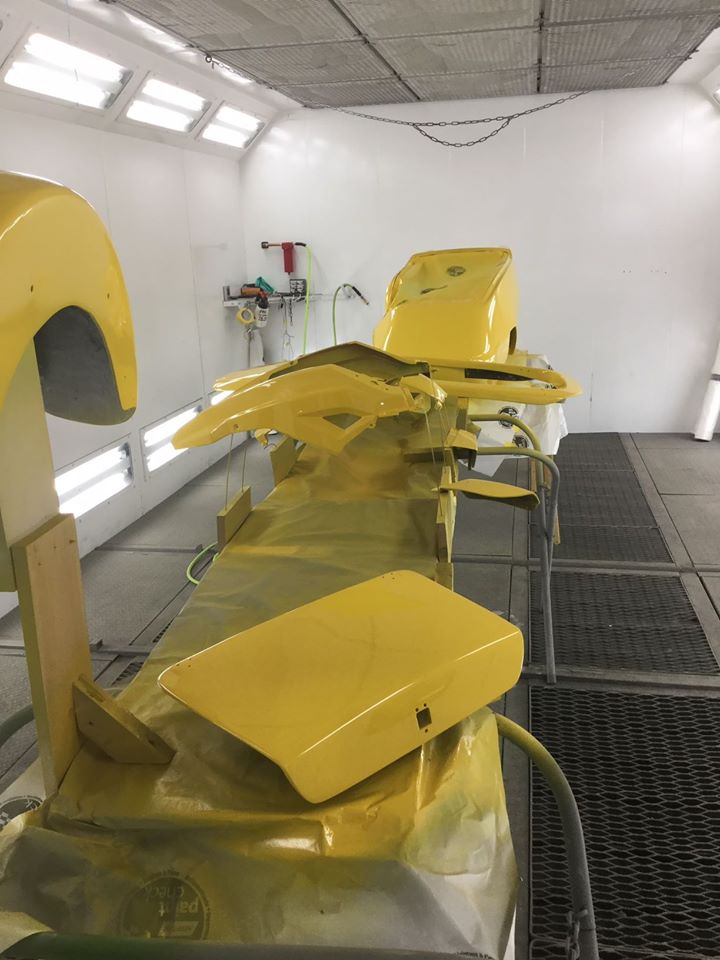
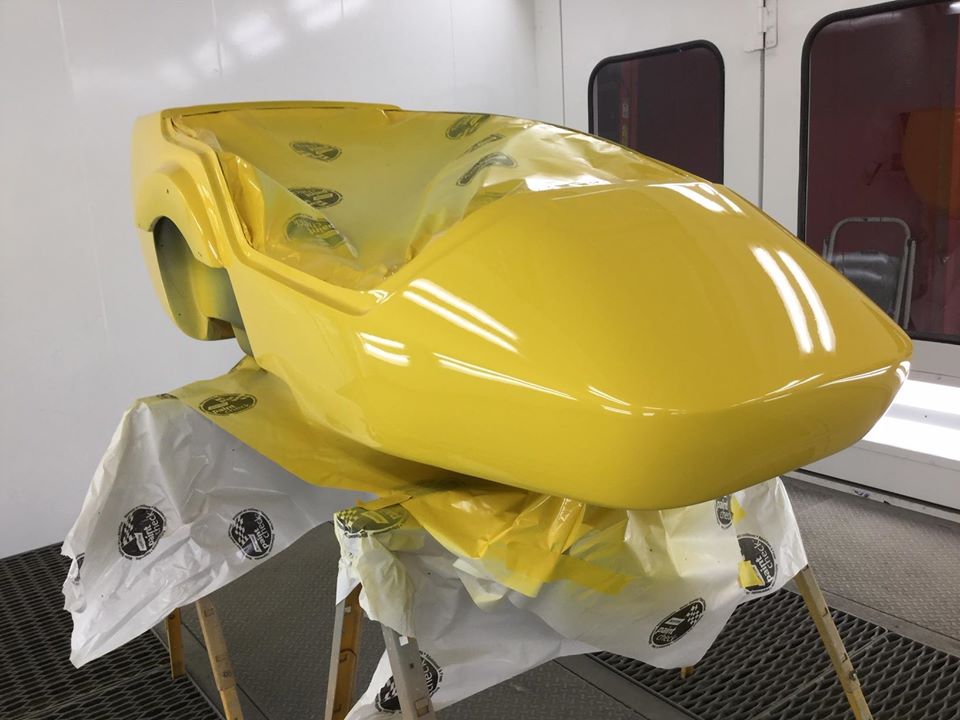
I couldn’t stop staring at it!
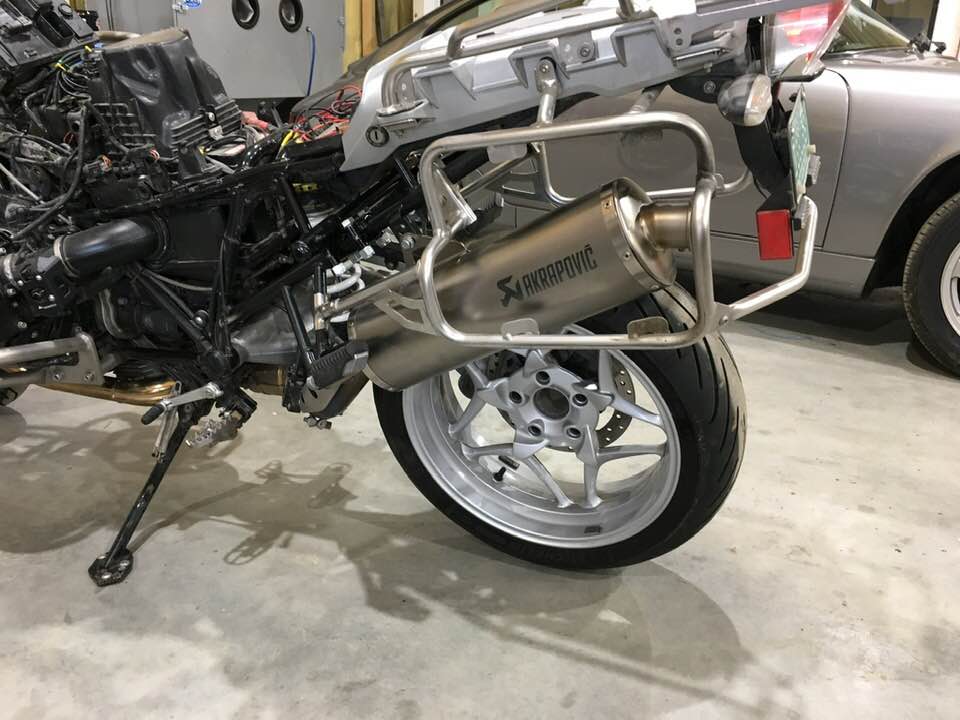
Meanwhile, I’d made some changes to the bike as well. Gone were the spoked wheels, replaced by cast wheels. The front rim was from a BMW R1200RT. At 17″ rather than the stock 19″ GSA rim I hoped it would make steering easier. The rear was also a cast 17″ rim, but from a BMW K1300. Both were wider than the original rims, which meant I could go with wider tires. To accommodate the wider rear tire I had to replace the stock exhaust with a slimmer version. I went with the Akropovic as it was not louder that stock. I’ve never been a fan of loud bikes.
Next came the task of mating the sidecar frame to the bike. With the new tug lower than the old one I expected some adjustments.
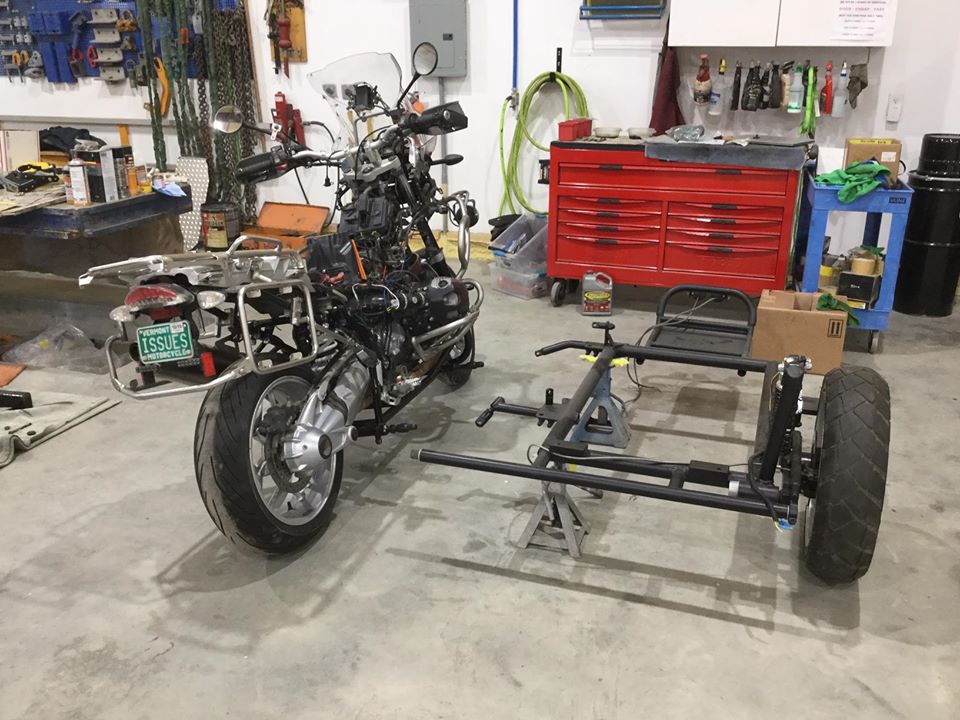
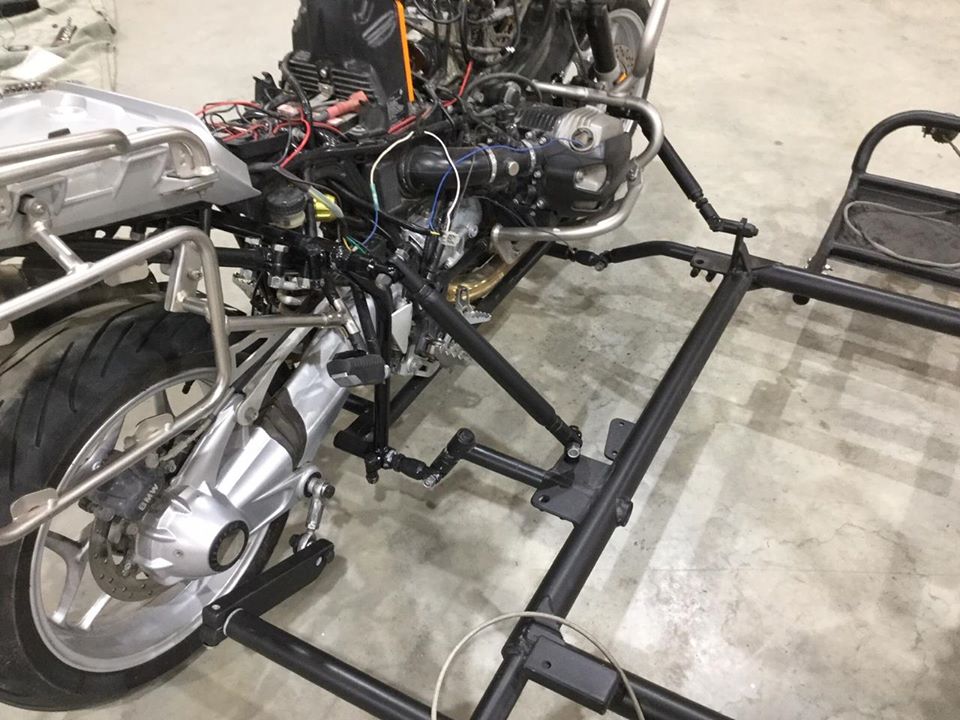
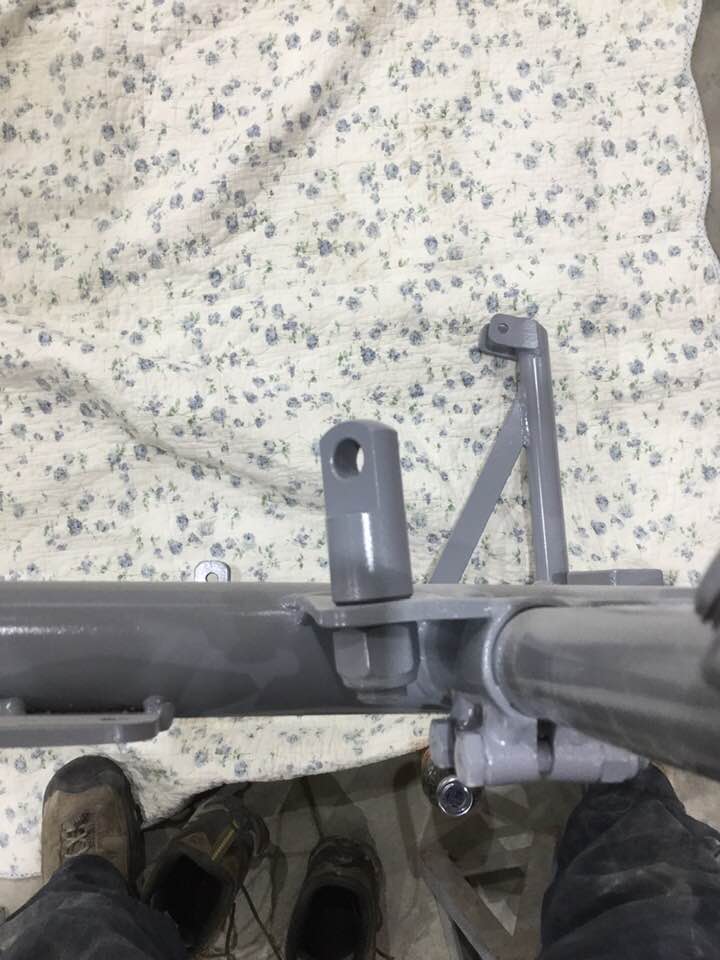
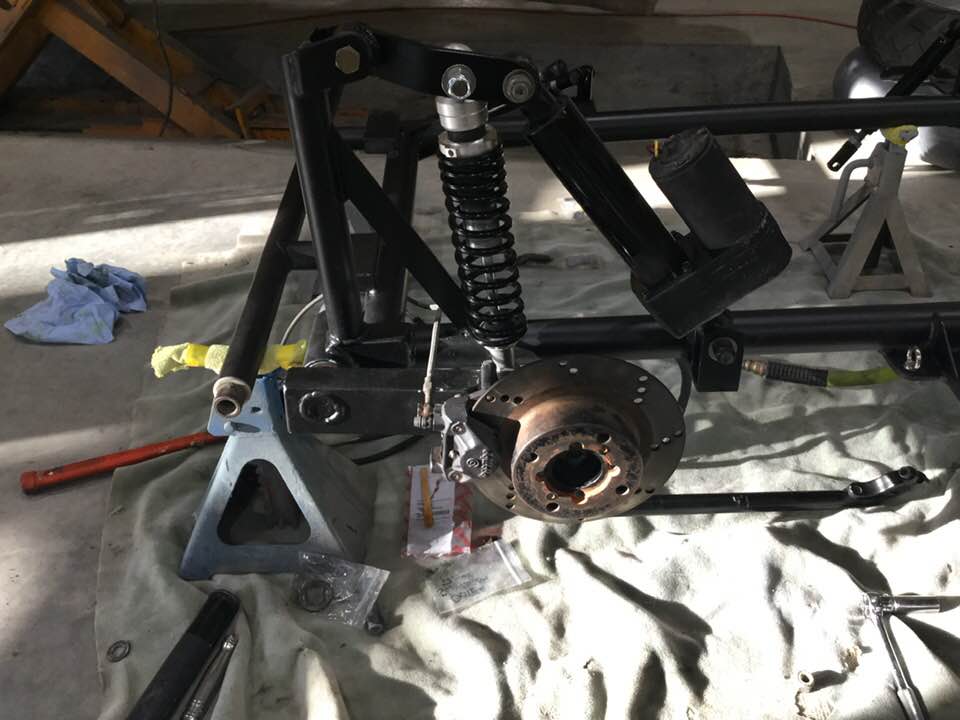
The original struts were sized to the taller bike and lacked sufficient adjustment to mate properly unless I moved the sidecar subframe back three inches. Doing that threw the linkage between the final drive and the swaybar way off. In the photo above that shiny heim connector linking the bike to the swaybar arm should be nearly vertical. It was way off.
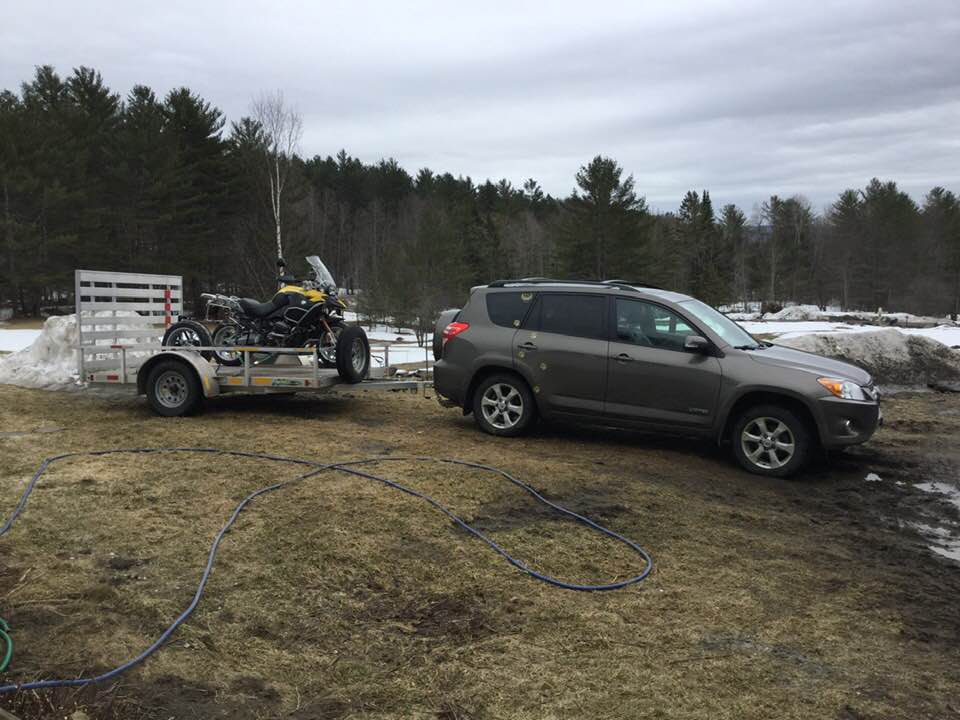
Time to consult the experts. Claude Stanley at Freedom Sidecars in Pennsylvania agreed to squeeze us in, so we loaded the unfinished rig onto my trailer and headed south.
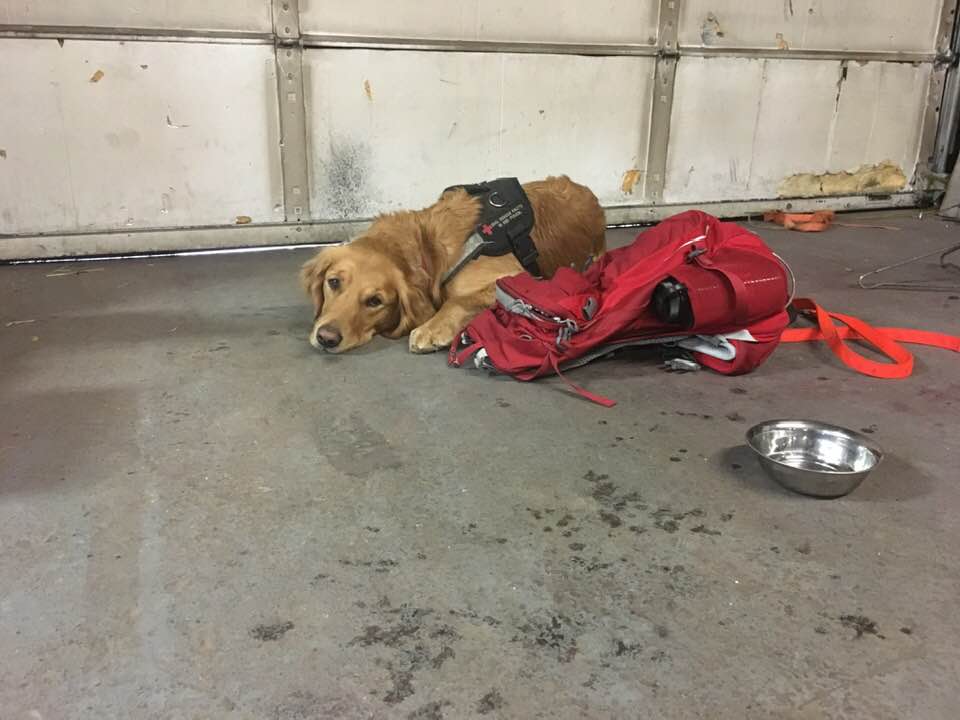
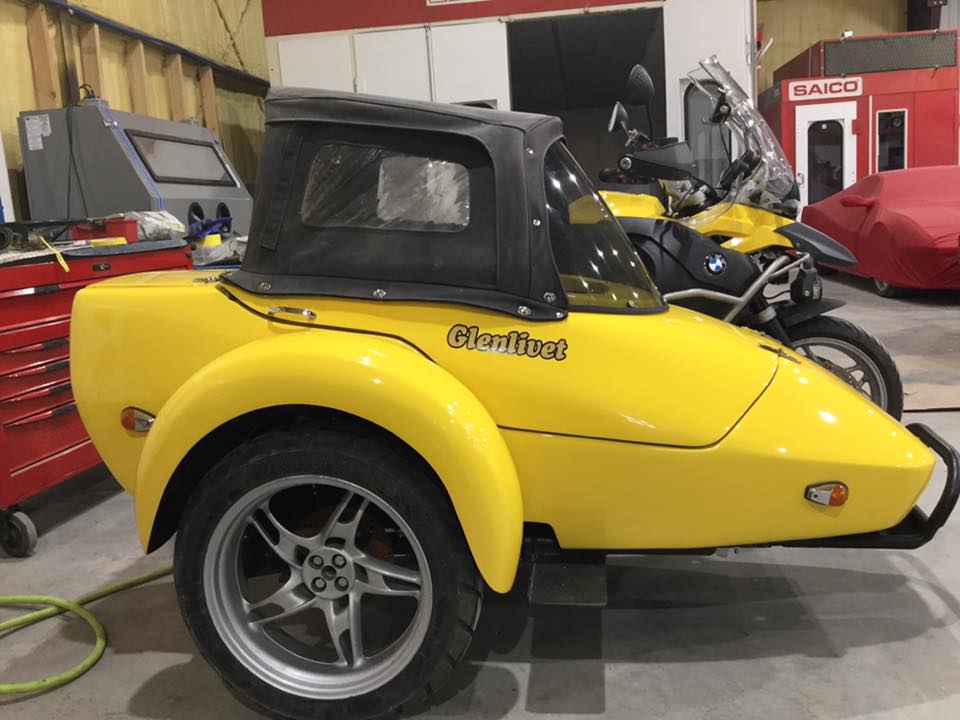
Claude quickly saw the problem and fabricated new struts and a forward mount. Glenlivet supervised at first, but soon got bored.
I’ve never been a fan of urban traffic, especially pulling a trailer, so we started the drive back home at 2am. We were on a lonely stretch of Interstate west of Binghamton NY, in the right lane slowly overtaking a Subaru in the left lane. Behind us another car was coming up fast in the left lane. The overtaking car flashed his high beams at the Subaru. A woman’s arm came out of the driver’s window and flipped the one finger salute. By this time the faster car was abreast of me and I noticed it was a state trooper. Shit was about to get real, so I backed off. He flashed his high beams again. From the Subaru came a paper cup full of coffee. The trooper lit her up in spectacular fashion.
Instant karma had been served!
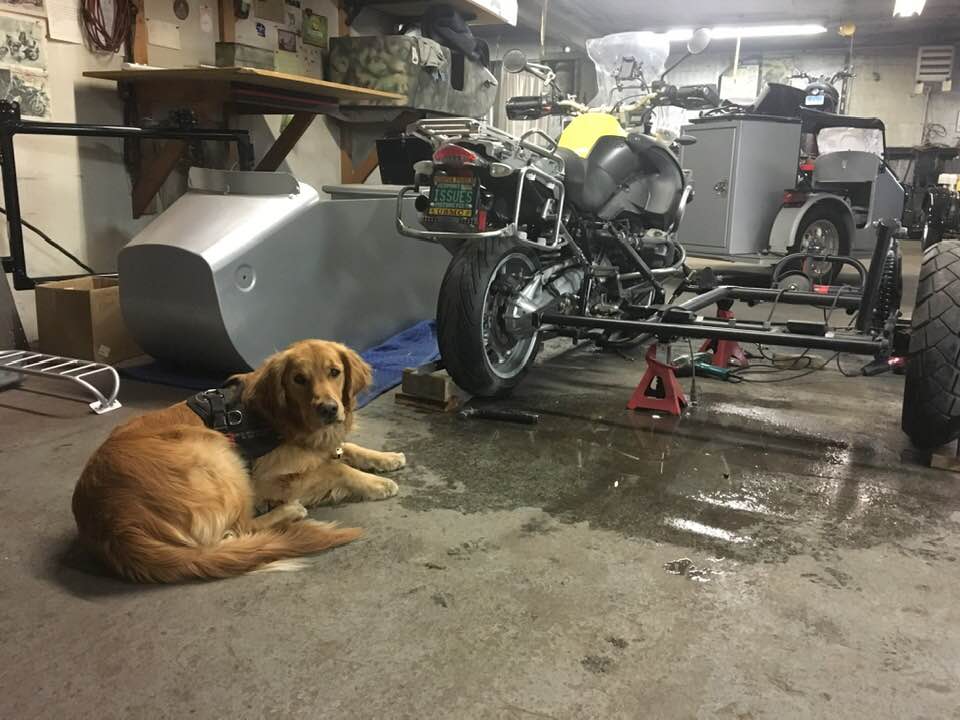
Back home, we started the process of mating the tub to the subframe.
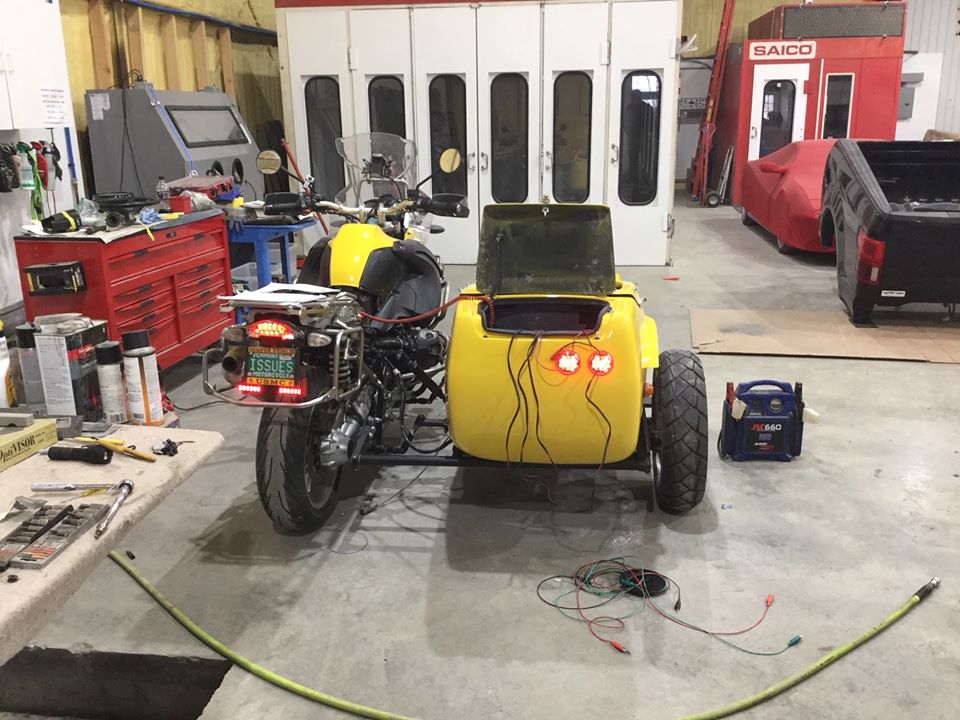
I can’t say that wiring is my strong suit. In fact, it is a pain in the tush. But with Miyagi-san’s help we managed to get all the lights working when they were supposed to. Brakes, turn signals, tail lights and markers all worked. Next came the windshield and the ragtop.
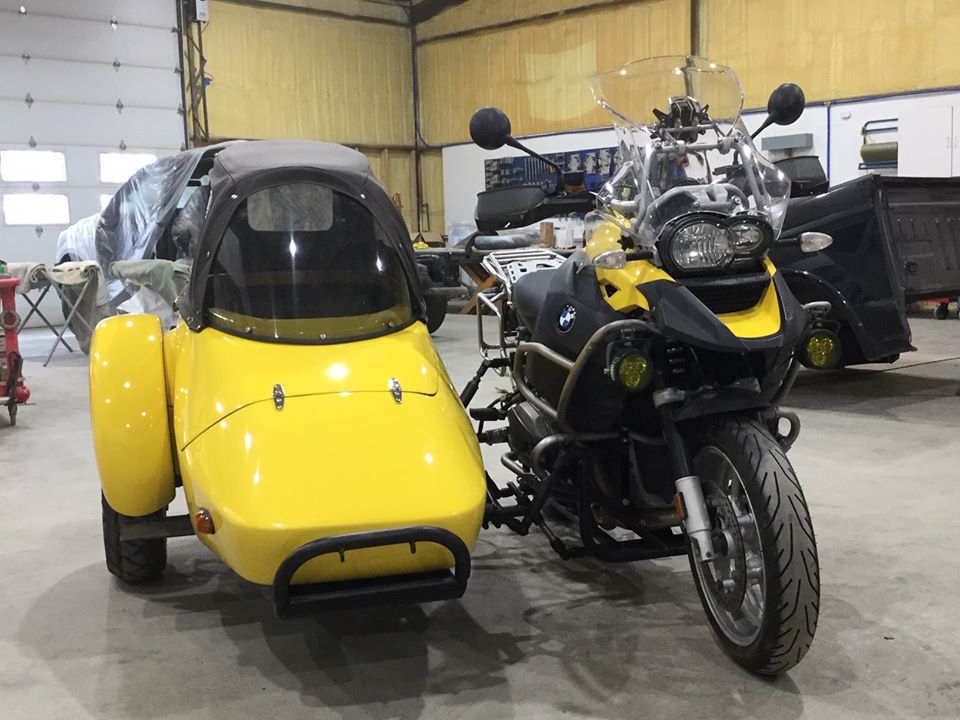
All the fasteners were torqued, all the wiring connections checked and secured. The lean was a bit off but in my uneducated opinion not too bad…so I rode it home to do the finishing touches and free up work space in Miyagi-san’s shop.

It handled well at low speed in our village. As I pulled into our long gravel driveway Glenlivet raced from the house to escort me to the garage. He was absolutely delighted to have his rig back and insisted on a ride. So off we went!
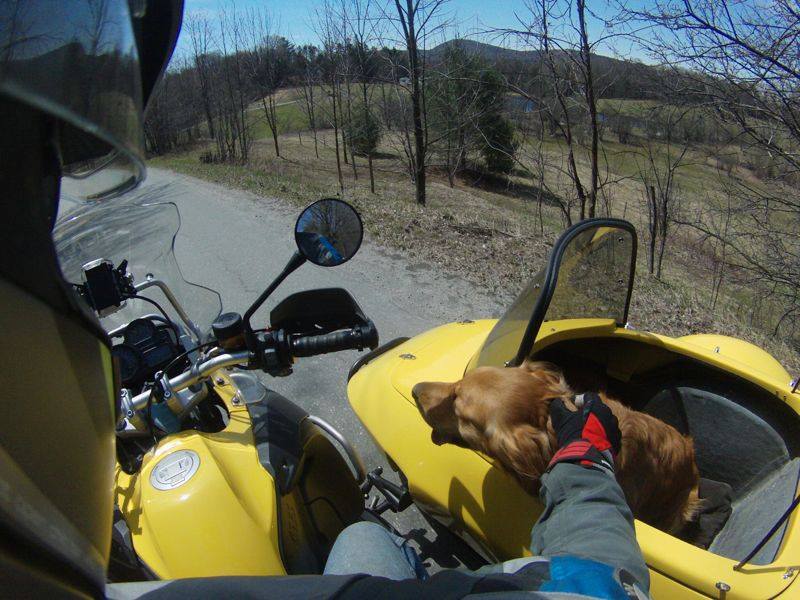
Departure date for our ride to the Tennessee rally was fast approaching so we did several local training rides. In all the excitement I skipped several important checks and ignored a few warning signs of trouble ahead. Those issues would come to a head halfway to Tennessee. But for the moment we were both delighted!